Resident Evil 7 - Swamp, Salt Mine and the Lab, and surviving the final Molded onslaught
A complete walkthrough and guide to each area in Capcom's survival horror adventure.

The Swamp and Salt Mine follows the lengthy Wrecked Ship section and fixing the Ship elevator to escape. They are also effectively the game's final areas, so equip your best weaponry and plenty of curatives to make it through in one piece.
The area begins with a safe house. To get there, drop down from the ship and head through the water - we found some Flame Rounds on the right edge - before heading underneath the outhouse and up.
If you're after help for parts of the game, consult our complete Resident Evil 7 walkthrough and guide.
On this page:

Exploring the Swamp in Resident Evil 7
The Swamp is a very small area, and it's hub is a safe room. Here's where you can re-equip your items, as well as collecting anything Mia left behind, such as the Machine Gun and the Antique Coins if you found them.

Answer the radio, check the photo on the side and the book near where you entered to get some story information. There's also a Mr Everywhere inside the broken wall just above where you entered, too.
There is also some birdcages, the same as those your saw in the Trailer. It's your last chance to buy something, so spend those Antique Coins to buy one or two upgrades from the table, especially the MAG 44, a very powerful handgun.
Getting to the Salt Mine elevator
Leave the hut and grab the consumables on the left underneath the window where the Mr Everywhere statue was and the cart in front. On ahead round the corner are four creatures surrounding a lift; the easiest thing to do here is to simply retreat back to the hut safe house, which will make them disappear.
When you approach the lift again, more enemies will approach from the direction of the hut. There are consumables here to collect round the lift - we found a Herb, ammo and Chem Fluid - but if you're not fussed about those, press the button on the right and head down to the mine.
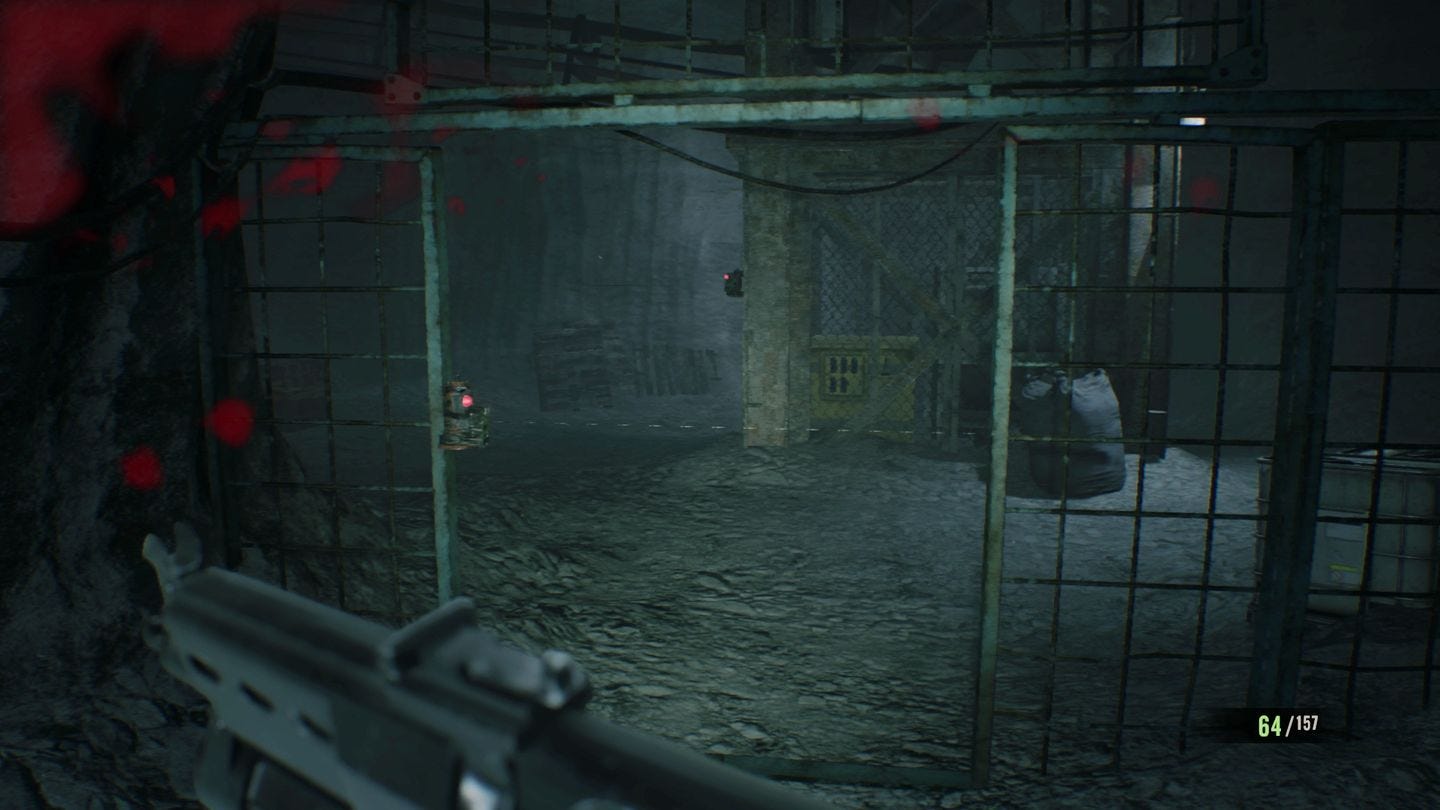
Exploring the Salt Mine in Resident Evil 7
When you leave the lift, a crawling Molded will appear ahead of you. In the following gate and all round the central shaft are trip mines; you can choose to safely detonate them from a distance, or if you crouch underneath and press on, enemies will emerge from the right, and you can retreat back and lure them into them.
Head through the winding passage until you come to a fork in the path with three directions - ahead, left and right. Ahead and left are dead ends with consumables to be found (we picked up Remote Bombs and MAG rounds respectively), though watch out for enemies from behind as you go right; as such, it pays to drop a Remote Bomb before you go in that direction.
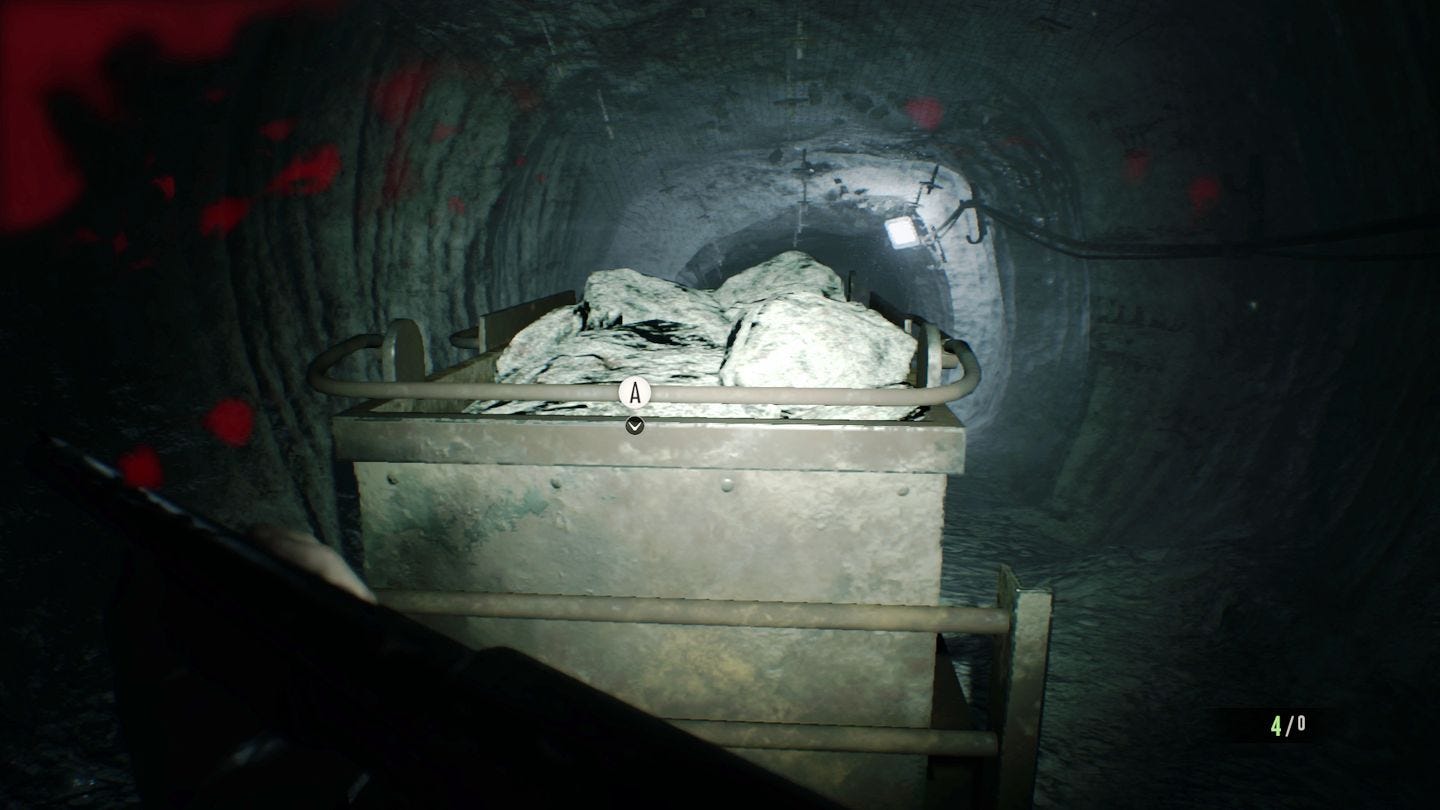
After the right passage is a mine cart track on the ground, and again, two more enemies will follow you from the way you came. There is a cart a little further along; run round the other side and use the prompt to push it through the barrier ahead, destroying it.
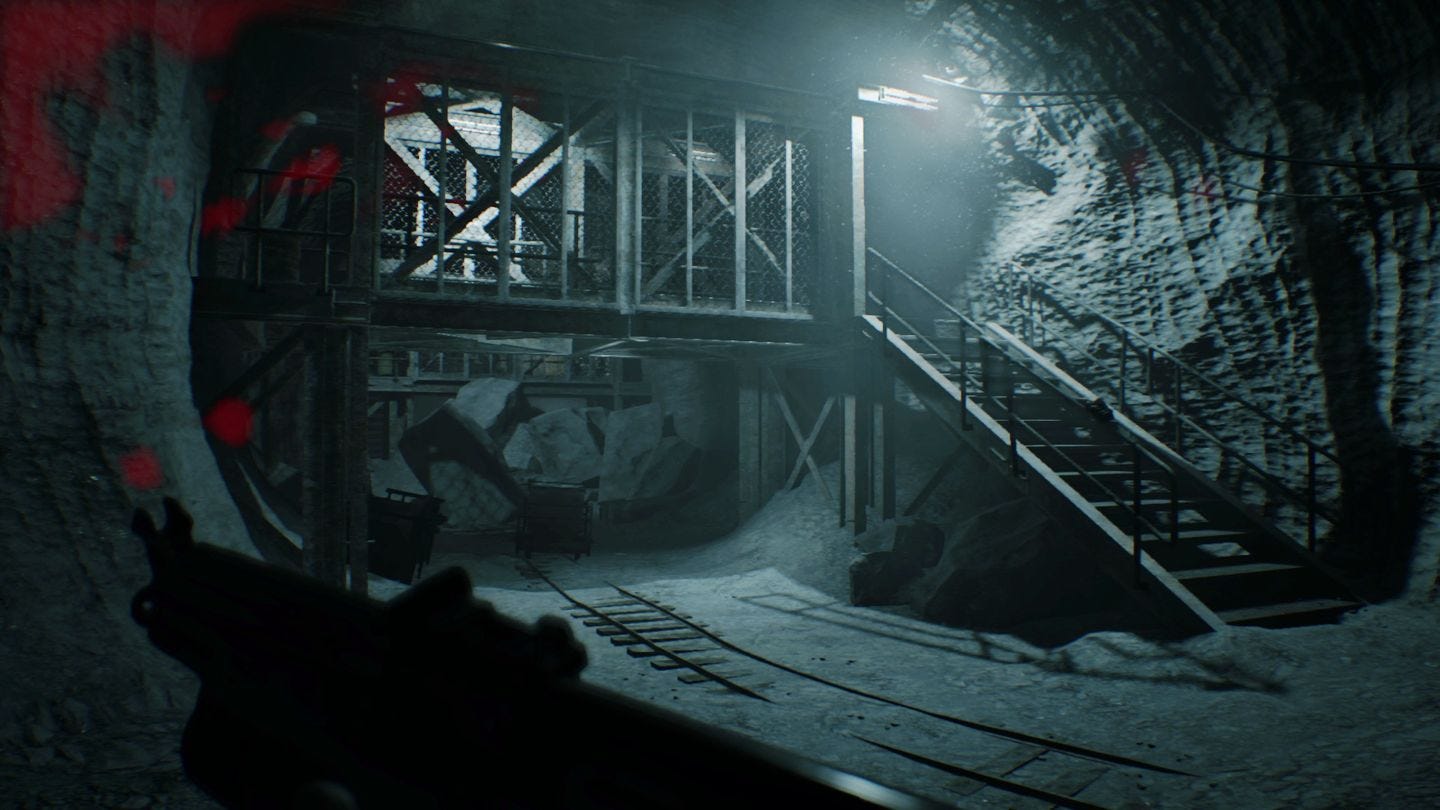
Follow it down, going left to a more open area with a set of stairs and walkway above. There's a crate to destroy below, and at the end on the far walkway, is a Mr Everywhere head.
The Lab
Head back to the first walkway and up the stairs, avoiding the tripmine and into the room. Read the 'Email Log' file on the laptop, get the Herbs on the table, and pick up the Steroids upgrade underneath the other side of the bath for a health upgrade.
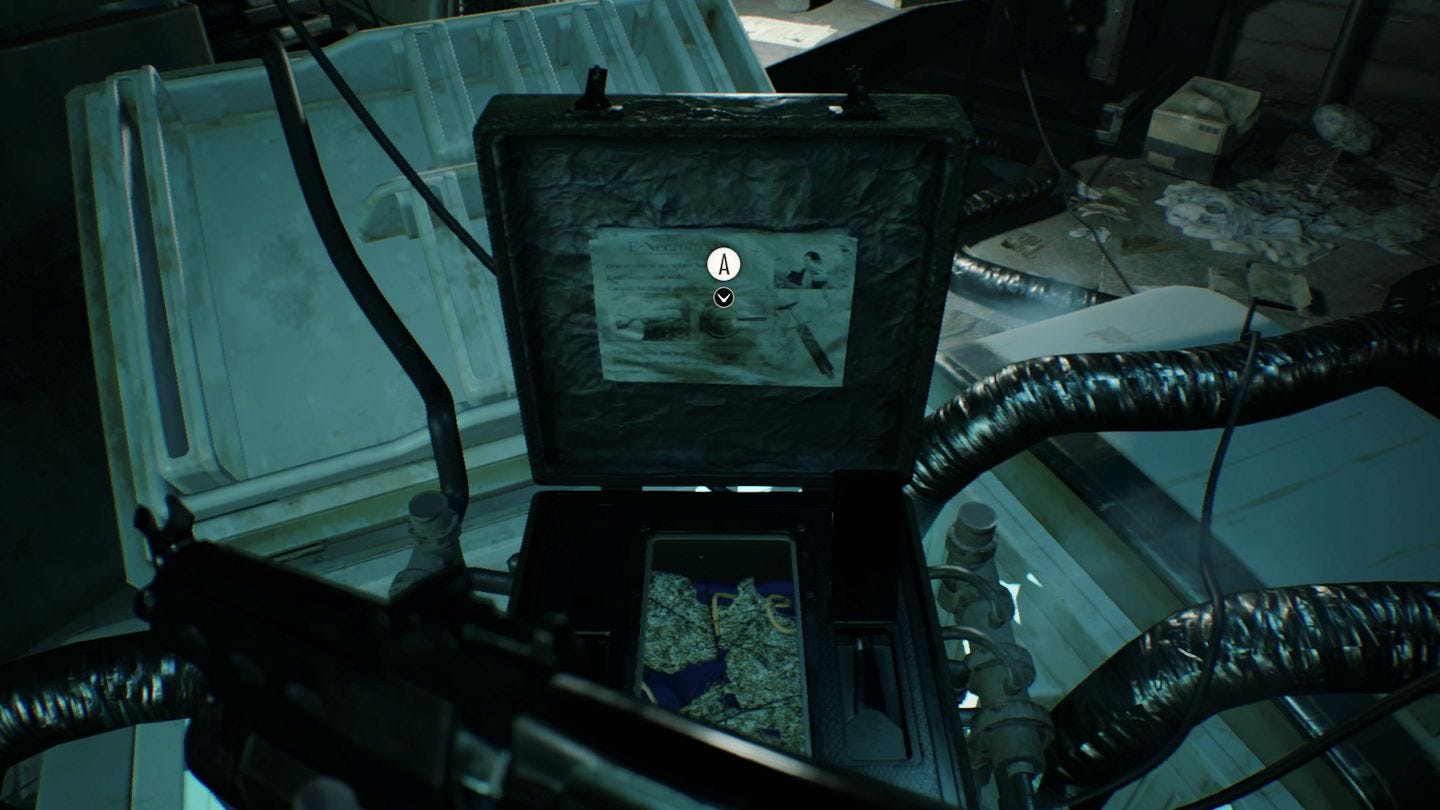
In the next room is a small lab area, with a brief case near the centre of the room. Investigate it and go through the prompts and select the Tissue Samples in your inventory to create the E-Necrotoxin, and be sure to read the lid for the 'E-Necrotoxin Document' file as well.
Before you leave, there's also an 'Infection Report' when you first entered this room, an 'R and D Report [1 of 2]' and '[2 of 2]' behind and to the right of the E-Necrotoxin case. Note that all these three require picking up and then a further A (on Xbox) or X (on PS4) press in order to read and log in your entries.
The room that follows is a safe room with save point, Item Box and a few consumables lying around (we found Grenade Launcher ammo). Coming up is one of the game's most challenging areas, so stock up on powerful weapons - we recommend the Shotgun, Grenade Launcher, Machine Gun and if you have it, the 44 MAG, as well as a stock of curatives.
Surviving the Molded onslaught
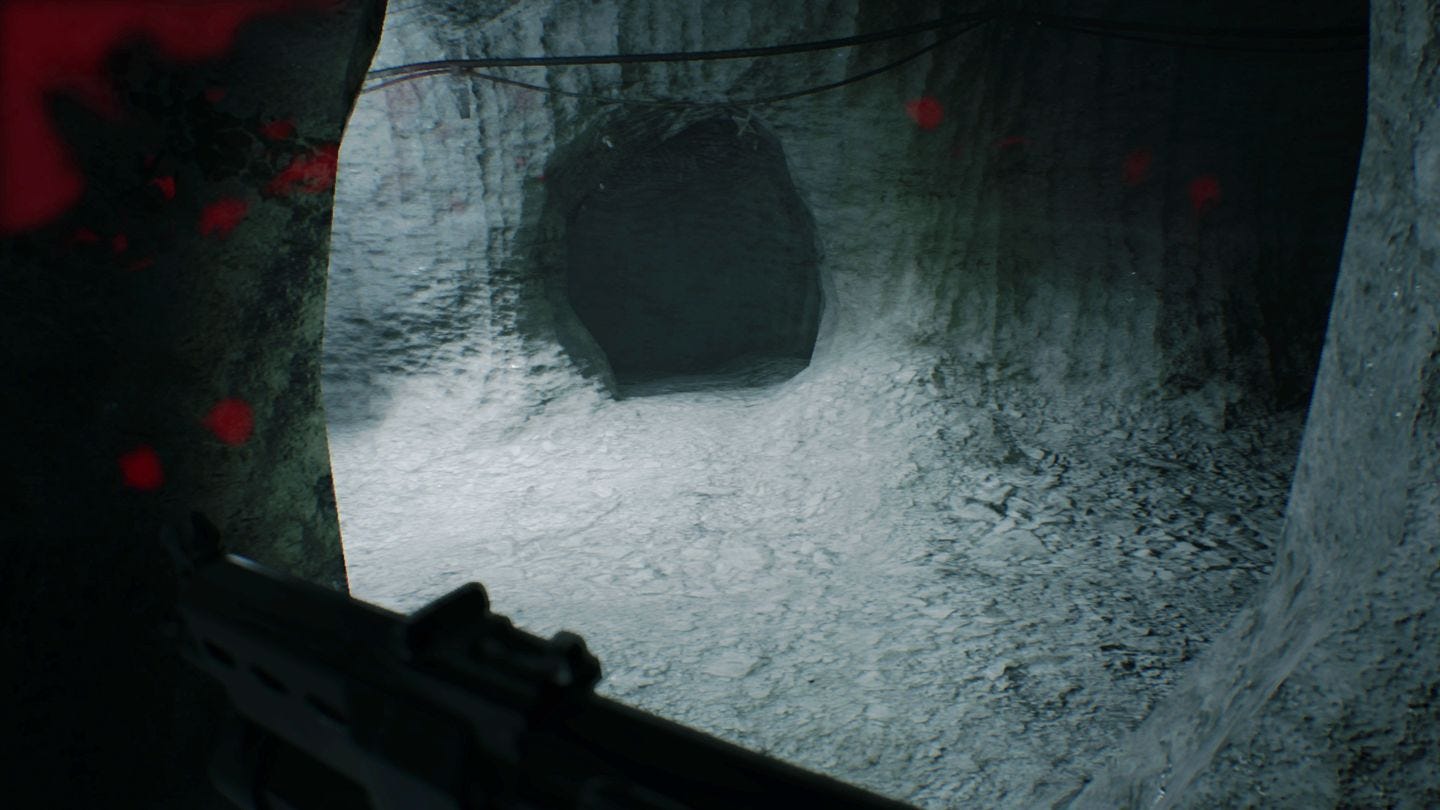
Head out the room to another walkway, down the steps and go left into another passage which leads you to a water-filled cavern with someone humming. Press on, crouching through the collapsed tunnel.
The next section will see black mold drop from the ceiling and enemy spawning everywhere. Enemies will keep coming in as you climb up and up, though are finite and you can fight your way through.
It's tempting - and somewhat possible - to sprint your way past most of them, but there will be some tight passages where the only way to get past them is to kill them. Either way, Remote Bombs come really in handy throughout this section, especially when they are clustered together and you won't incur damage.
While there are alcoves to the side with resources but nothing collectible, so if you are in a rush, don't worry about missing anything. Once you drop down a broken short set of stairs, you are safe - from the hordes behind at least.
Want more help? Our Resident Evil 7 walkthrough provides step-by-step instructions on how to survive the main story, as well as finding the Shotgun, Grenade Launcher and the game's many Lockpicks and Treasure Photos. Meanwhile, our Antique Coins locations, Mr Everywhere statue locations and File locations lists will help you find every available collectible on Normal and Easy difficulties.
Two Fat Molded fight
Next is a more open area with a ladder at the far end. Grab the Med Kit on the right rock, and very soon two Fat Molded will emerge to the left of the ladder. This isn't too dramatically different to fighting one, as you'll ideally want to be using Grenade Launcher rounds and Remote Bombs, which can injure both at once.
You can lay the latter down as they spawn in and walk backwards and detonating, and only a handful of these and Grenade Launcher rounds should down them.
Climb up the ladder once done, squeeze through the rocks, and save at the typewriter. Push through the wooden boards at the end, and you'll arrive somewhere familiar - which includes the Resident Evil 7 final boss. Good luck!