Final Fantasy 15 Chapter 13 - The Imperial Capital Gralea, A King's Struggle
How to complete Chapter 13 of Final Fantasy 15.
Chapter 13 is one of the longest in the game, and sees you tackle The Imperial Capital Gralea as part of the A King's Struggle mission. If you've skipped ahead by accident, then head back to Chapter 12 to catch up.
The Imperial Capital
Recommended level: 34
Walk along the train to the marker, and when the demons emerge head back the other way. You can't attack enemies at the moment but they're also in no hurry to attack you so just sprint to the rear of the train. Drive the Regalia towards the marker - most of the obstacles are at the sides, so sticking to the middle makes it plain sailing, and the time limit is more than generous.
As you pass under the train carriage on your way to the marker it will collapse and you'll need to outrun some more demons. As before they don't do much in the way of attacking, so climb into the carriage ahead, run to the end and take the door on the left, then climb the metal steps ahead.
A King's Struggle
Recommended level: 38
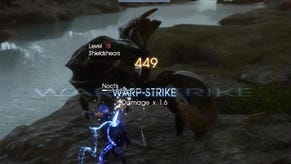
Combat works a little differently now, so pay attention to the mini tutorials as you progress towards the marker. Deal with the two Snagas and then flip the switch on the panel to the left
Head back to the room you started in, fight another Snaga, then push the green button next to the door in the south wall. Follow the corridor and operate the next panel and then double back again. Head towards the first panel and head through the doorway on your right about half way along. Open the door, enter the room, and use the control panel at the top.

Go back down the steps and deal with two more Snagas, leave the room and go through the door opposite that's now open. The small room at the end of this passageway lets you rest and save the game, so nip in there before pressing on.
Crossing the small room and passing through the door will lead into a large exterior area occupied by several Snagas. Use your new ability to take out as many as you can and then mop up the stragglers, then leave through the next door. Follow the corridor round and into the elevator room. A few Snagas will emerge when you open the elevator, so deal with them before taking a ride up.
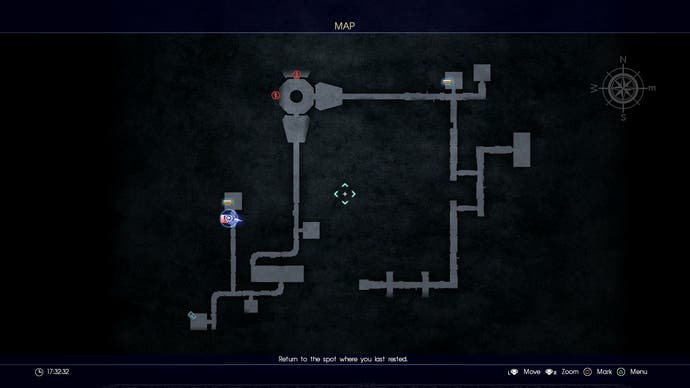
As you progress through the next area make a mental note of the hiding places you pass. The area is patrolled by Axemen, and in your unarmed state it may be easier to avoid fights where possible, although aggroing them one at a time and then hiding to recover after a fight also works - they patrol alone, so a single shot with Alterna (R1 / RB + Triangle / Y) is enough to eliminate them.
When you reach the first junction, carrying on ahead leads to a dead end with a couple of valuables, and taking the left turn takes you towards the goal. At the second junction, turn left to collect the keycard from the small room at the end, then backtrack and save your game and rest up. Leave the save room and turn right, open the door, cross the gantry, and open the door ahead.
You can only go left for now, so open the next door and follow the passageway. You'll catch a glimpse of Prompto running ahead, but when you give chase the corpse on the floor will grab at you so be ready to mash Circle / B. Ignore the junction on your right for now and head for the room at the end and use the machine inside to raise your keycard access level, then double back and take the turning.
here are three Axemen here, so either avoid them or try and bunch them up and take them all out with one shot of Alterna, and then save and rest up in the room ahead before opening the marked door.

Need more help? Our Final Fantasy 15 guide and walkthrough can provide tips on main story, as well as the open-world's many quests and activities. Learning how to get AP fast, EXP fast and money or Gil fast will aid you in many optional dungeons and tombs - including how to open and explore their locked doors. There's also plenty of interesting side-quests, too, such as the Scraps of Mystery and Professors Protege frog locations. And if you want to get around easier, you can rent a Chocobo, learn the infinite sprint trick and later in the game, get the flying car Regalia Type F. There's also more to see and do with DLC, such as Episode Gladiolus and Episode Prompto.
Climb the stairs, and turn left when you reach the room with Prompto inside. Open the next door on the right, squeeze through the gap in the far right corner, and face off against Utta. One shot of Alterna will get rid of it, then you can squeeze through the gap between the crates.
Of course, it was a trick, so upgrade your keycard again, open the door, and head back into the corridor. Right leads to a dead end with a couple of valuables, so go and pick them up if you want and then retrace your steps to the lower level.
Save once more, then retrace your steps back to the room that previously had two locked doors and take the exit on the left. Climb in side the lift to head to the upper level. Head to the marker in the centre of the area, and then use the terminal in the north east corner.
Make your way towards the large partially open doors to the east. The Gargantua in there looks pretty terrifying, but a single shot of Alterna will make short work of him - duck behind the containers to the right of the door to avoid getting hit by him while it charges. He will respawn fairly quickly, so head north and then east along the narrow gangway to avoid a second round.
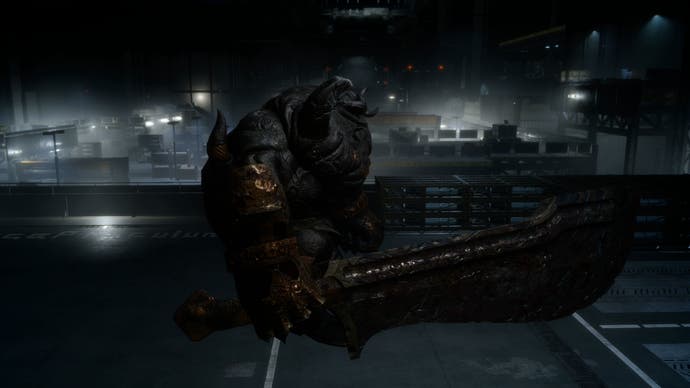
The storage area filled with crates has a couple of valuables to collect but also some Axemen patrolling around, so explore it if you wish and then head for the south west corner of the area directly below the Gargantua.
There's an Axeman in the area next to the freight elevator so deal with him and then ride the lift up. Make your way to the keycard, grab it, and return to the main elevator to activate the generator, before heading to Zegnautus Keep to continue this chapter.

