Final Fantasy 15 Balouve Mine - location, how to get Tomb of the Clever and beat Aramusha
How to beat Balouve Mine in Final Fantasy 15.

Balouve Mine is a little different to the other high level dungeons you come across in the end game, with many low level enemies and one powerful boss to finish the affair with.
When you're done, be sure to check out other Final Fantasy 15 dungeons and tombs for more places to explore.
Balouve Mine (Tomb of the Clever)
Recommended level: 50
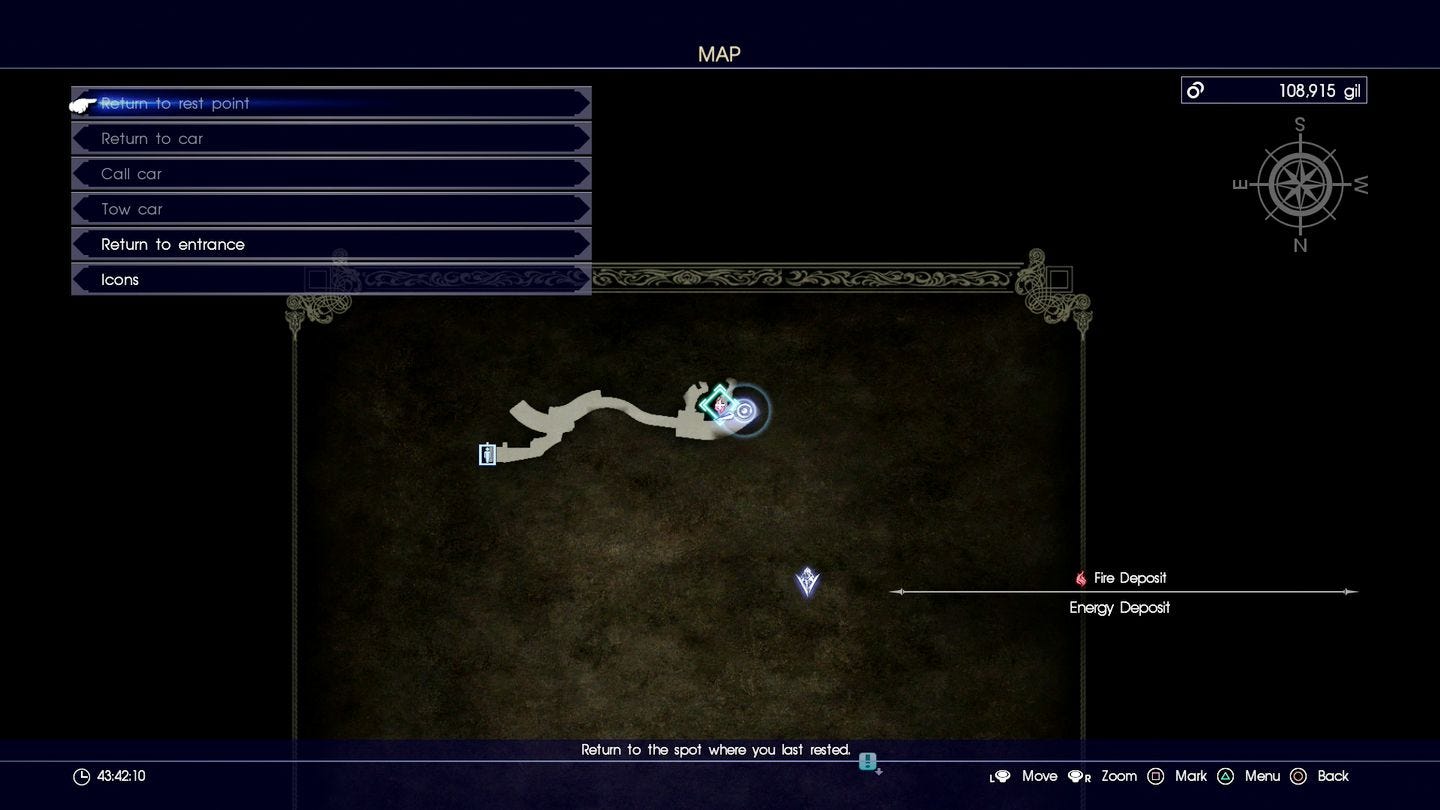
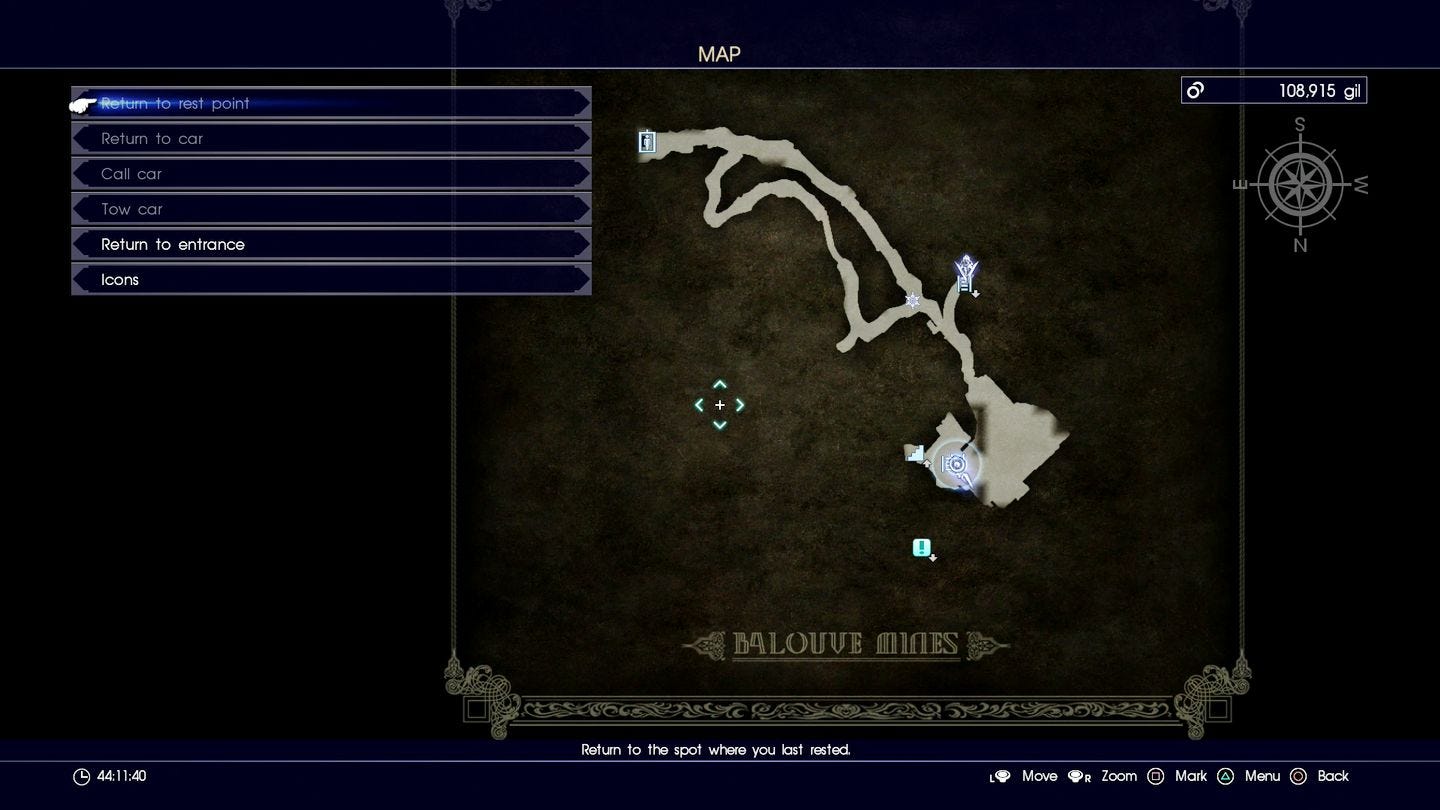
Head to the Balouve Mines parking spot (north of Saulhend Pass, in south Leide) and head through the dilapidated building to the south east then follow the path. Get inside the elevator to enter the mine.
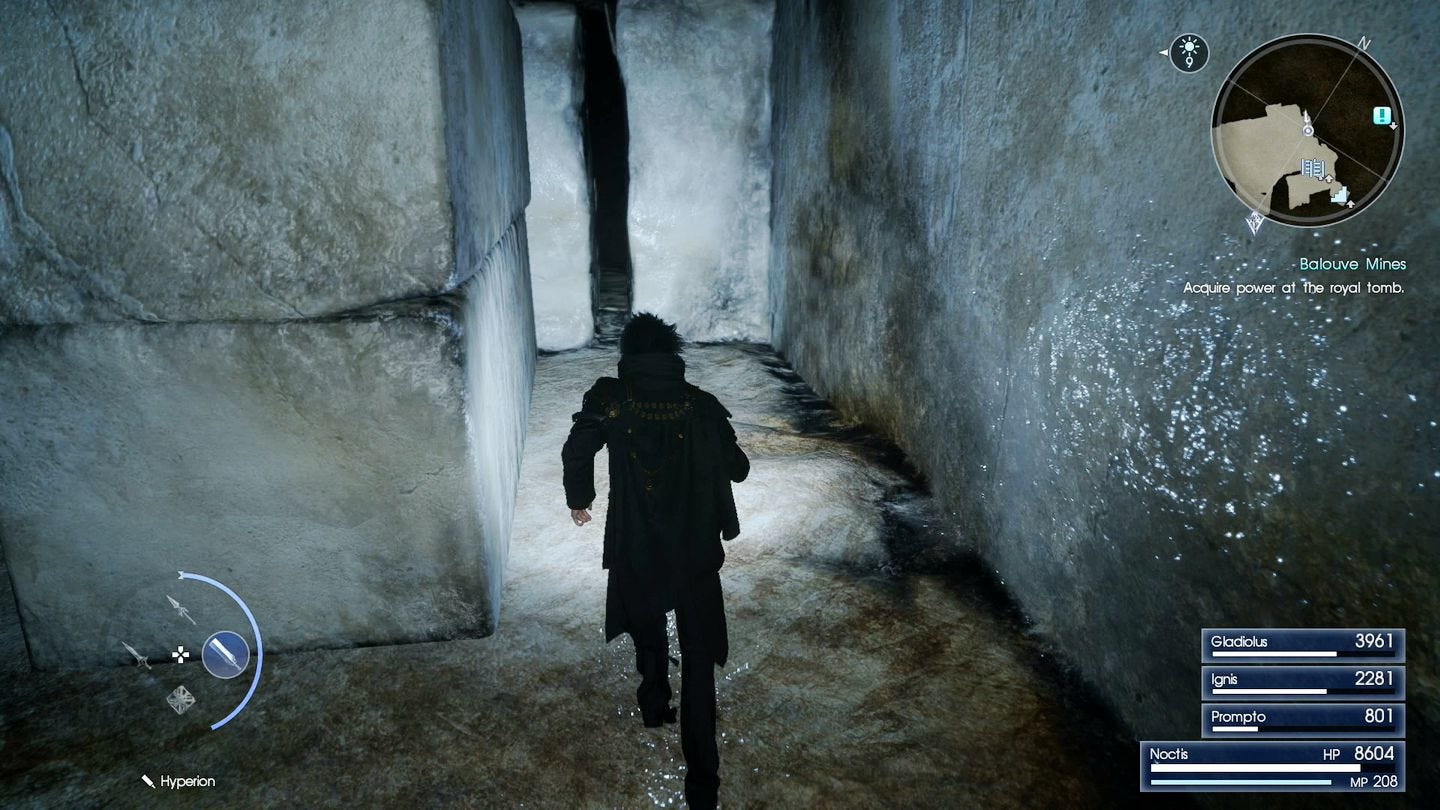
This is an odd one - all the enemies between you and the boss are very low level (the odd level 7 Goblin), so until you reach the final confrontation you're unlikely to break a sweat, and most of it is just long empty tunnels, so unless you want to explore just start with floor B2F.


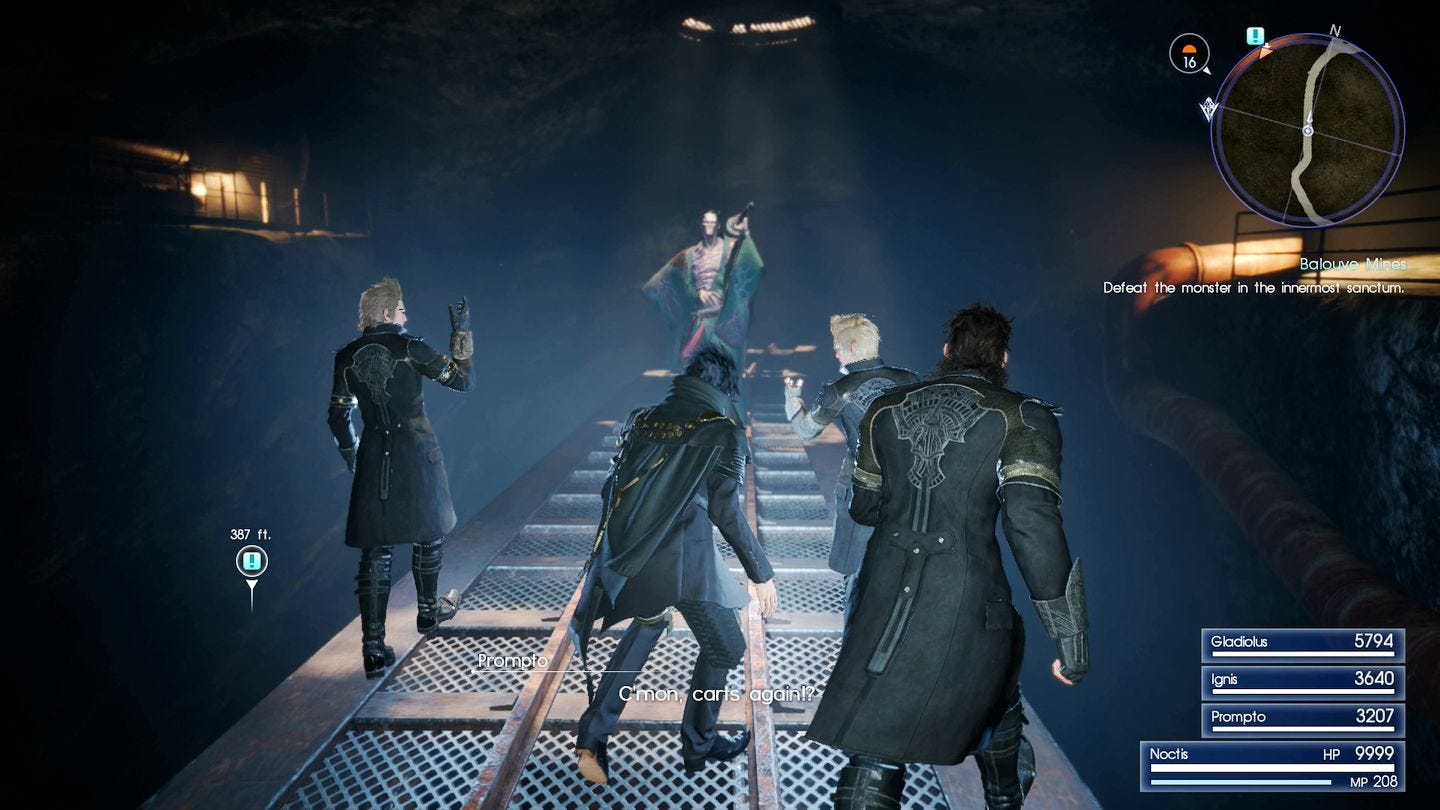
Follow the tracks, taking the right fork when you get to it. You end up on a narrow bridge in a large open chamber, and a mysterious figure will appear ahead of you. This is the dungeon boss, but you can't do anything with him here, and instead you'll be knocked to the floor below. Deal with the Goblin resistance (you should be able to one-shot them if you're at the suggested level) and then head east, take the passage on your left at the end, and climb the stairs back up.
Head north, turn left at the end of the corridor, and at the Y-junction head west until you emerge into a metal tunnel. Take the door on the left at the end, then climb down a couple of ladders for your encounter with Aramusha.
He's weak to Swords, Daggers, Lightning and Royal weapons, and resistant to fire, but he's also susceptible to any weapons that deal poison damage. He can drain your stamina, has an AoE attack that can cause Confusion, and it's important to block when prompted as otherwise he'll hit you for a couple of thousand damage and heal himself.
He never strays from the lower area, though, so it's possible to get high ground and slowly wear him away with a gun, or alternatively dart between the two Warp Points dealing him a blow each time you pass.
Need more help? Our Final Fantasy 15 guide and walkthrough can provide tips on main story, as well as the open-world's many quests and activities. Learning how to get AP fast, EXP fast and money or Gil fast will aid you in many optional dungeons and tombs - including how to open and explore their locked doors. There's also plenty of interesting side-quests, too, such as the Scraps of Mystery and Professors Protege frog locations. And if you want to get around easier, you can rent a Chocobo, learn the infinite sprint trick and later in the game, get the flying car Regalia Type F. There's also more to see and do with DLC, such as Episode Gladiolus and Episode Prompto.
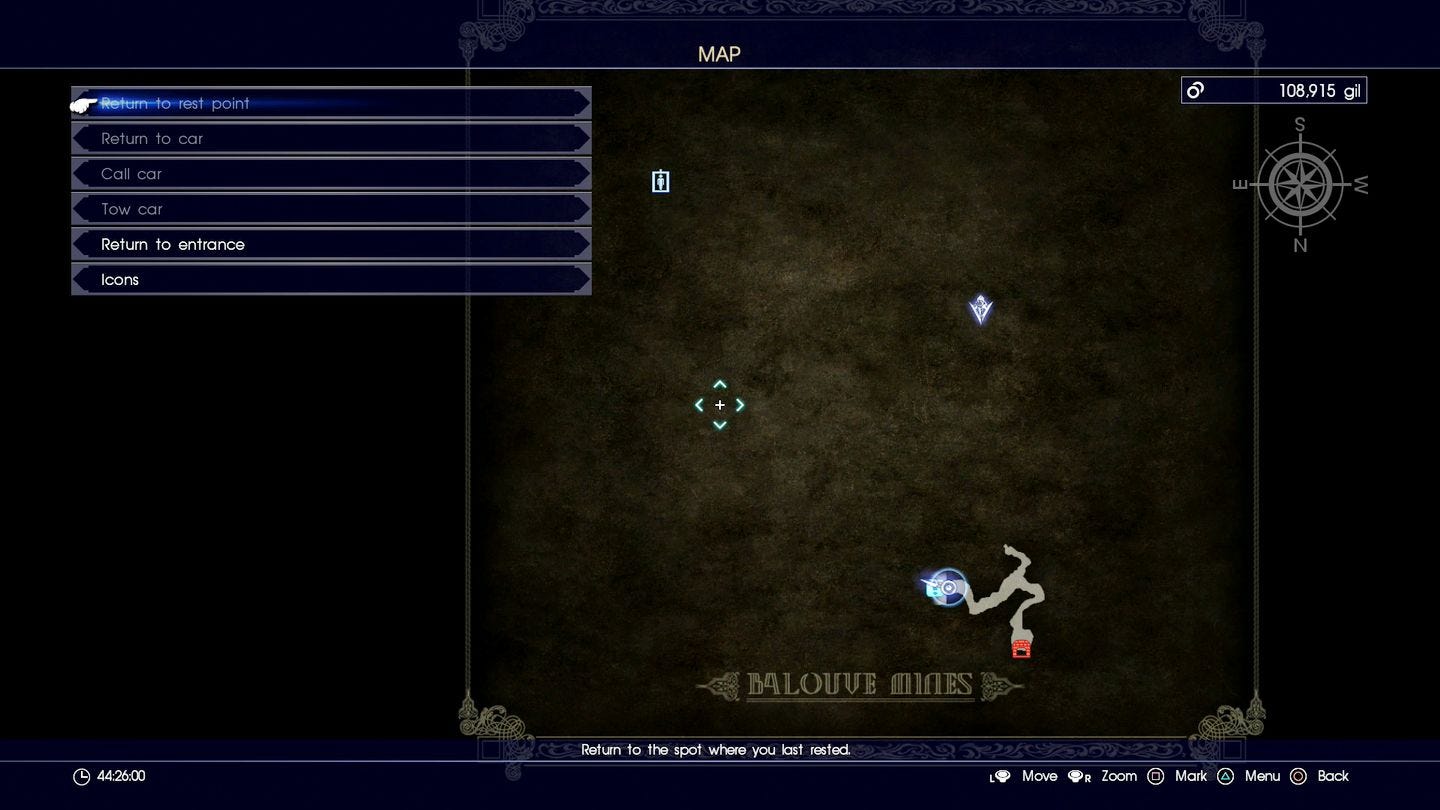
Once he's down head up the metal steps in the north west corner of the room to find a narrow gap. Squeeze through and follow the passageway round to the east to find the Tomb of the Clever. The optional dungeon is also located in this area, so take a mental note and come back later whenever it's unlocked / you're ready.