Watch Dogs 2 - W4tched missions: Dellums Towers and Wrench in the Works
Our complete story walkthrough and guide to the many activities in Ubisoft's hackathon.

You can start the following W4tched missions when you're done with the Hacker War Main Operation. We'd recommend you unlock the Security Shutdown Research upgrade as well as upgrades to the Jumper remote control vehicle before you continue to make things a little smoother.
Peeping Toms/Café Culture
Once the first part of the mission is under way head to the marked area and activate NetHack to locate the surveillance van. Make your way around to the far side of the danger zone and climb onto the roof of the low building, hack into the truck, and then take shelter in the small alcove on the roof to wait out the timer - with any luck none of the enemies will find you, but if they do make it to the roof they can be taken out using the electrical panel on the floor. Once the download is complete drop down to the beach below and make your escape.
Cabbie for Hire
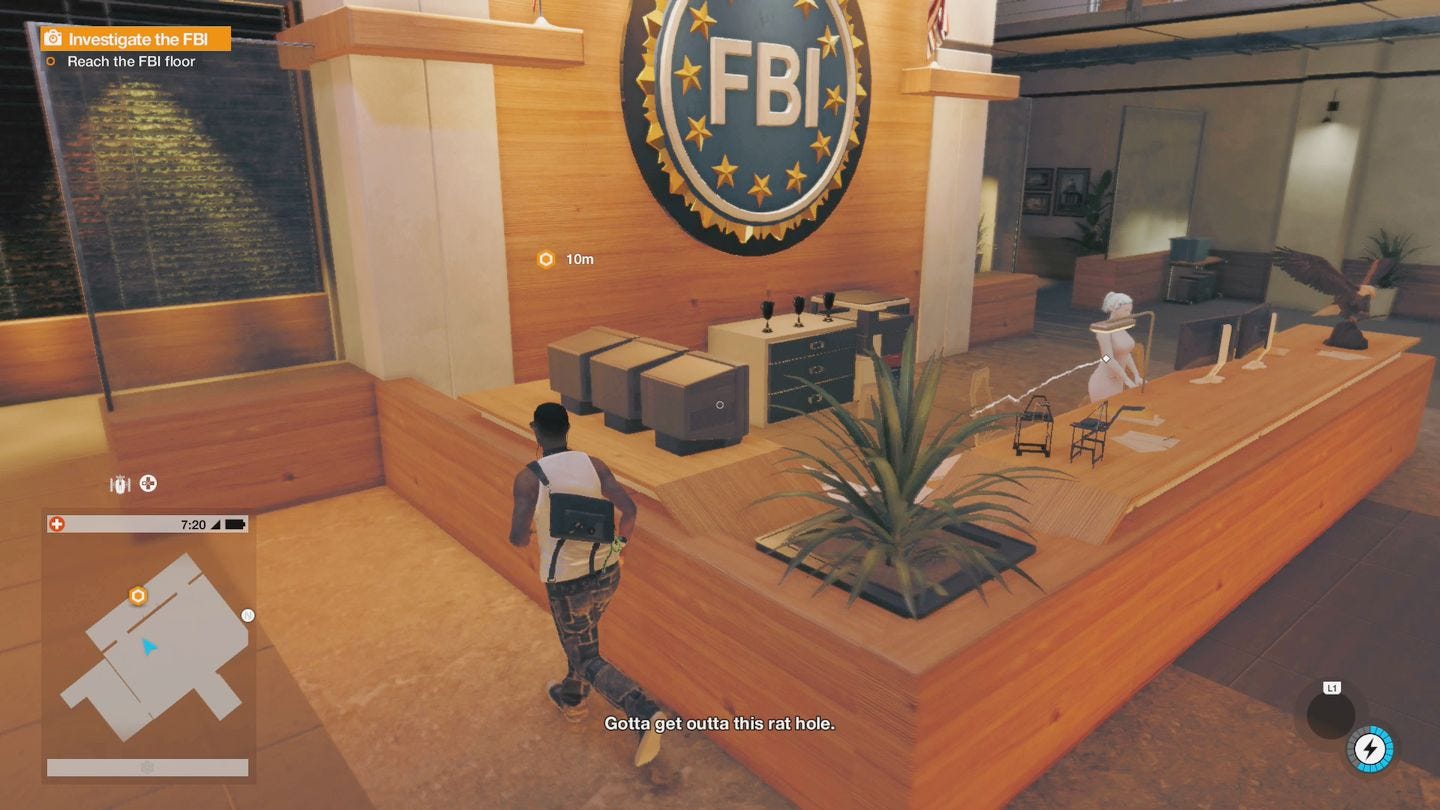
Pick up Miranda and drive her to her destination and then head for the FBI building.

Dellums Towers
Answer the ringing phone and use the recording to bypass the door lock and enter the foyer.
Ride the elevator up and exit through the left side up the upper lobby into the service stairwell in the far corner, climb the stairs, and clamber onto the platform in the middle of the room to activate the panel on the antenna mast and trigger the switch puzzle - you may need to use the camera on the wall to reach some of the switches, and be aware that the elbow on the antenna can only be connected for a short period of time - if it's left powered for too long the entire puzzle will reset.
All positions are given from a position directly below the timed elbow piece.
- Rotate the T pieces in the far and rear left to connect the three wires.
- Rotate the T in the rear right to point upwards.
- Activate the timed elbow, unlock the switch in the far right, then deactivate the elbow.
- Rotate the newly unlocked elbow so it connects the left and lower cables.
- Rotate the T piece in the rear right so that the short piece is pointing away from the newly unlocked switch.
- Activate the timed elbow and unlock the switch inside the base of the antenna.
Tap into the transmission then head back down the maintenance stairs to the office level, take shelter in the elevator and deploy the Jumper. Send it through the doors to the left or right - you're aiming for a storage closet in the far right of the next area so the right hand door is a shorter distance but has an inconveniently placed guard, whereas the left hand route is longer but you can avoid attracting attention by passing through the conference room area in the middle. (Alternatively you can go to the closet yourself if you would prefer.)
Once the Jumper is in the storage closet send it to the back and jump onto the boxes piled up to reach an air vent. Send it up the slope to emerge into the space above the suspended ceiling, turn right, and follow the space ahead and round a corner to find another tunnel.
At the other end of the tunnel the access hatch you need is off to the right, but locked, so instead of heading for it drop down the opening in the ceiling and bypass the security panel below. If you have the Jumper upgrade you can now simply leap back into the ceiling and open the grating, but if not you'll have to recall it and make the run again, but either way drop down into the server room, hack the server, and wait for the data transfer to finish. The FBI will now be on the hunt for you, so quickly make your escape before you're spotted.
The next marker reveals another switch puzzle:
- Rotate the elbows on the floor to send power to the cables that lead up the poles to the ceiling.
- Unlock the switch on the ceiling and rotate it so it's pointing away from the power source.
- Rotate the elbows on the floor to route power towards the hole in the ground, and then unlock the switch in there.
- Rotate the elbow in the hole to send power along the buried cable, and then climb the ladder.
- Rotate the T piece to connect all three wires.
- From the point of view of standing at the T and looking at the tower, rotate the left elbow to send power up the tower.
- Unlock the switch at the top.
- Rotate the elbows to direct power the other way and unlock the final switch.
Place the transceiver and then head for 16th Street Station.
Want more tips? Our Watch Dogs 2 walkthrough and guide provides an overview of everything you can do in the open-world game, from all finding all Key Data locations, unique vehicles and finding hidden gnomes and gnome outfit, through to tips on races, ScoutX, Driver SF and multiplayer. We also have walkthroughs on Trophy and Achievement specific side-quests Ubistolen, $911 and Shadows as well as how to get more Followers and how to make money.
Wrench in the Works
This next section can be accomplished several ways but due to the fact that some guard placement is random we found this to be the most reliable even if it isn't particularly elegant!
Open the main gate, bear right past the green shipping container, and take cover behind the concrete block just to its right. Deploy the Jumper and send it under the security fence towards the open door on the right - there's a guard in here who may either stand still or go for a wander outside so you'll need to distract him, and if you have the Security System shutdown upgrade then make use of it to avoid having to time your entry.
Once inside head for the doorway on the far left, take a right as soon as you pass through it, then turn left inside the empty room. Head through the small gap in the far corner, then carry on past the objective marker and through the small opening opposite. The guard patrolling the desk area may need distracting if she happens to be looking in your direction, or you can wait it out under cover.
Once you're through the second opening turn left - on the far wall of the main lobby is the panel you need to hack, so head for it but be mindful of the guard patrolling near the desk are, one standing guard through a doorway the right, and one that makes a circular patrol between those two guards.
Using a combination of good timing, distraction, and a little bit of good fortune head over and hack the panel, and while you're concealed take the opportunity to hack the guard patrolling this room to give you access to the main door control. Send the Jumper back the way you came until you reach the server, hack it, recall it, and wait for the transmission to finish and for the guards to lower their alert.
If you can disable the security system then shut off the fence in front of you and climb over the metal barriers to the right of the door. If you can't disable it then head to your right towards the small raised area, climb onto the planks of wood, and drop off the edge to mae it inside the perimeter.
The next part is all down to timing. The guard in the lobby will now be taking a slightly wider patrol route and the first guard you slipped past will now be making regular passes, you still have the other roaming guard to consider, and if you can't disable the security sensor in front of the door you also have to deal with that.
Wait until the two roaming guards are heading out of the lobby, disable the sensor if you can, open the door, and head inside. Immediately distract the remaining guard, climb over the desk, and grab the mask.
Note that the mission objective won't update immediately, but as soon as you've seen Marcus pick it up turn tail and leave. If the security system is off then you should be able to make a pretty clean getaway, but if it's on just run like crazy and ignore the siren - by the time the guards have reacted and moved to the breach you should have enough of a head start.
Alternatively you can leave through the back door in the far end of the empty room to the right of the server - it runs a risk of encountering a random guard and you'll still need to cross a security fence, but there's more clutter to cover your tracks while you escape.
Now you're done here, Eye for an Eye is next up.