Watch Dogs 2 - Hacker War missions: Sabotage and Bunker Bust bomb defuse puzzle
Our complete story walkthrough and guide to the many activities in Ubisoft's hackathon.

You can start the following Hacker War missions when you're done with the Limp Nudle Main Operation. We'd recommend you unlock the Security Shutdown Research upgrade before you continue to make things a little smoother.
Nine Lives/Lenni's Demands
Speak to Lenni in the club and then head for Rhonda's Restaurant.
Sabotage
Speak to your contact and then head round to the left of the compound and climb up onto the roof. Use the cameras to tag the enemies dotted around, and either sneak or brute force your way to each of the three waypoints. Sneaking will be much easier if you have the security system bypass unlocked as it will give you easy passage through some otherwise unguarded doors, and without it the situation may escalate. Once the ATMs are out of commission leave the area to trigger the next phase.

Bunker Bust
Head back and talk to Lenni again then follow the waypoint to her base. It's not too heavily patrolled so a head-on assault is a viable option, or you can set a few traps and let the enemies take themselves out if you're not in a hurry. Open the vent and drop inside, hack the router, and then prepare for a battle against the clock with perhaps the most taxing puzzle in the game.
Want more tips? Our Watch Dogs 2 walkthrough and guide provides an overview of everything you can do in the open-world game, from all finding all Key Data locations, unique vehicles and finding hidden gnomes and gnome outfit, through to tips on races, ScoutX, Driver SF and multiplayer. We also have walkthroughs on Trophy and Achievement specific side-quests Ubistolen, $911 and Shadows as well as how to get more Followers and how to make money.
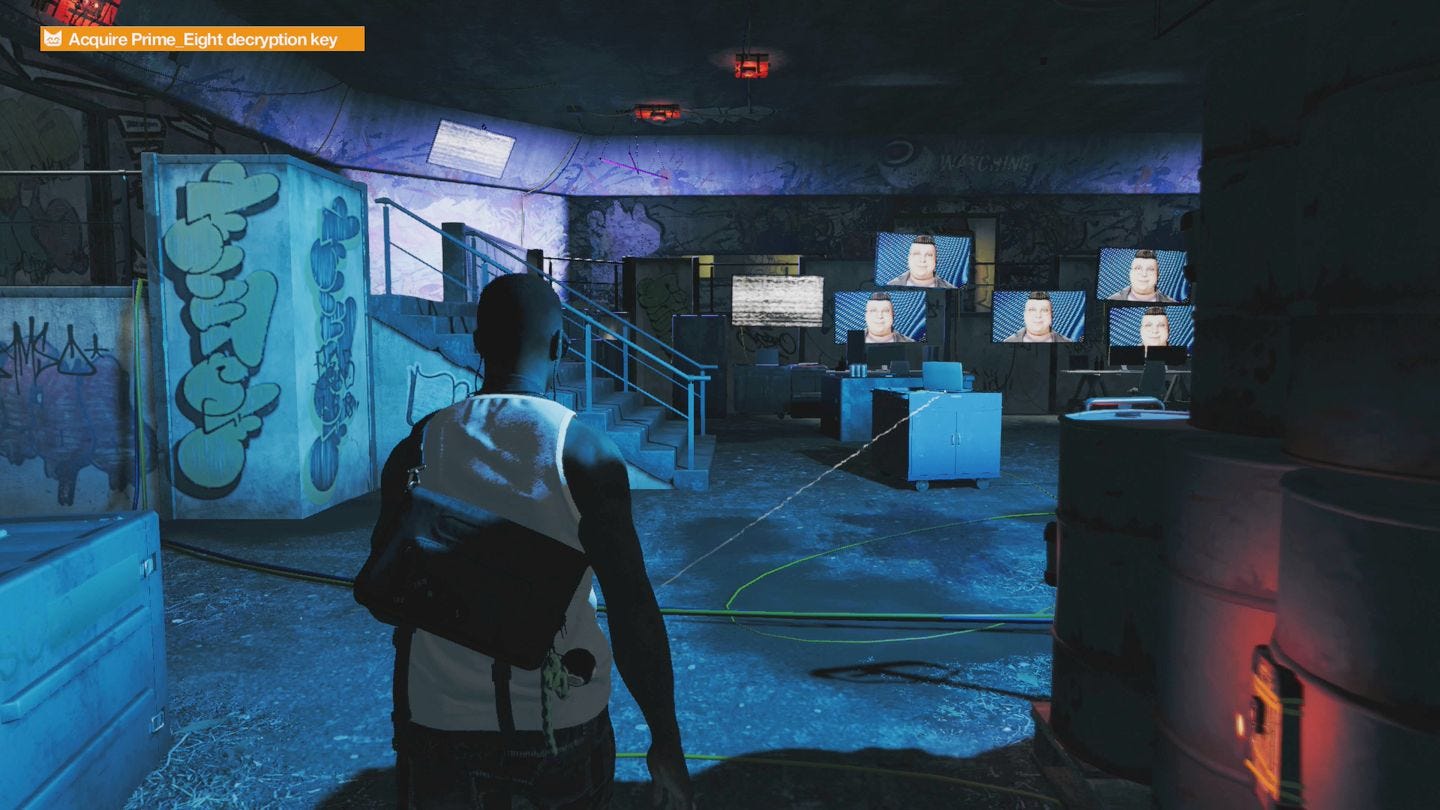
We've split the solution in to four parts - if you're standing facing the bank of monitors part 1 is ahead to the right, part 2 is ahead to the left, part 3 is behind to the right, and part four is behind to the left. The important thing here is to work methodically, and above all don't panic: the time limit seems short, but in reality you should have plenty of time to spare.
Part 1:
- Rotate the T piece next to the power source to connect all three wires.
- Follow the cable down and right and rotate the elbow to send power to the upper cable.
- Turn right and unlock the switch, then rotate it to send power downwards.
- Turn left and rotate the elbow piece to send power to the lower cable.
- Follow the cable to the locked switch floor and rotate the nearby T piece to send power across to it.
- Unlocking the switch will cause some to reset, so return to the power source and rotate the T to the correct position, and make sure both T pieces on the floor are connected at all three ends.
- Unlock the next switch and rotate it to power the section of cable that heads over the barrels.
Part 2:
- Rotate the T piece closest to Part 1 to connect to all three cables.
- Rotate the straight piece on the ducting above the monitors.
- Rotate the T piece on the ducting to connect the three cables.
- Rotate the straight piece on the wall to point downwards.
- Unlock the switch in the corner which will cause chaos again.
- Make sure the switch you just unlocked is pointing down, and rotate the T piece on the wall to send power across.
Part 3:
- Rotate the elbow in the corner to join the two wires.
- Rotate the elbow on the floor nearest the locked switch to send power upwards.
- Rotate the elbow on the wall to send power to the right.
- Rotate the T piece on the ceiling in the corner to connect to all three wires.
- Unlock the switch on the wall, and they'll all shuffle around again.
- Rotate the elbow on the floor next to the locked switch to connect it to the cable heading away from the wall.
- Rotate the elbow on the wall to connect the upper cable to the right hand one.
- Rotate the T piece on the ceiling to connect all three cables.
- Rotate the elbow in the corner to reconnect the wires.
- Unlock the switch on the floor and rotate it to connect to the cable running towards the middle of the room.
Part 4:
- Rotate the T on the ceiling to connect all three wires.
- Follow the cable straight from the power source, through the T, and rotate the elbow to connect the next wire.
- Rotate the next elbow to send power to the right.
- Unlock the locked switch on the wall. No prizes for guessing what happens next.
- Make sure the switch you just unlocked is connected to all three wires and that the T on the ceiling is sending power to it.
- Rotate the elbow on the wall to direct power down.
- Head down the steps and unlock the floor switch.
- Rotate it to direct power towards the centre of the room.
Once all four parts are complete, unlock the switch in front of the bank of monitors to defuse the bomb, then go and have a lie down. Phew! Take a break, explore the open world, and whenever you're ready to return to the story, W4tched awaits.