Watch Dogs 2 - False Profits missions: Sunday Schooled, Missing Persons and Blasphemer puzzle solution
Our complete story walkthrough and guide to the many activities in Ubisoft's hackathon.

You can start the following False Profits missions when you're done with the CyberDriver Main Operation.
Newly Dawned
Head to HQ, talk to Sitara, then follow the objective marker to start the mission.
Sunday Schooled
There are two ways into the building - you can either enter through the rear door, or head to the right side of the building and send the Jumper through the vent to get the keycode for the front door.

Each route has its advantages - the rear entrance provides more cover, but the front entrance has a shorter distance to cross - but whichever way you go the target device is upstairs directly above the front door. You can take the stealthy option and use cover to slowly make your way up and around, hack the various devices around the building to create distractions and traps, or simply fight your way up, but bear in mind that once you access the device you'll have to stay near it while the data is transferred so if you choose the combat route be prepared for a lengthy stand-off.
Mind F*cked
Head for the next marker, talk to your contact, watch the cutscene, head for the next marker, and talk to Miranda.
Missing Persons
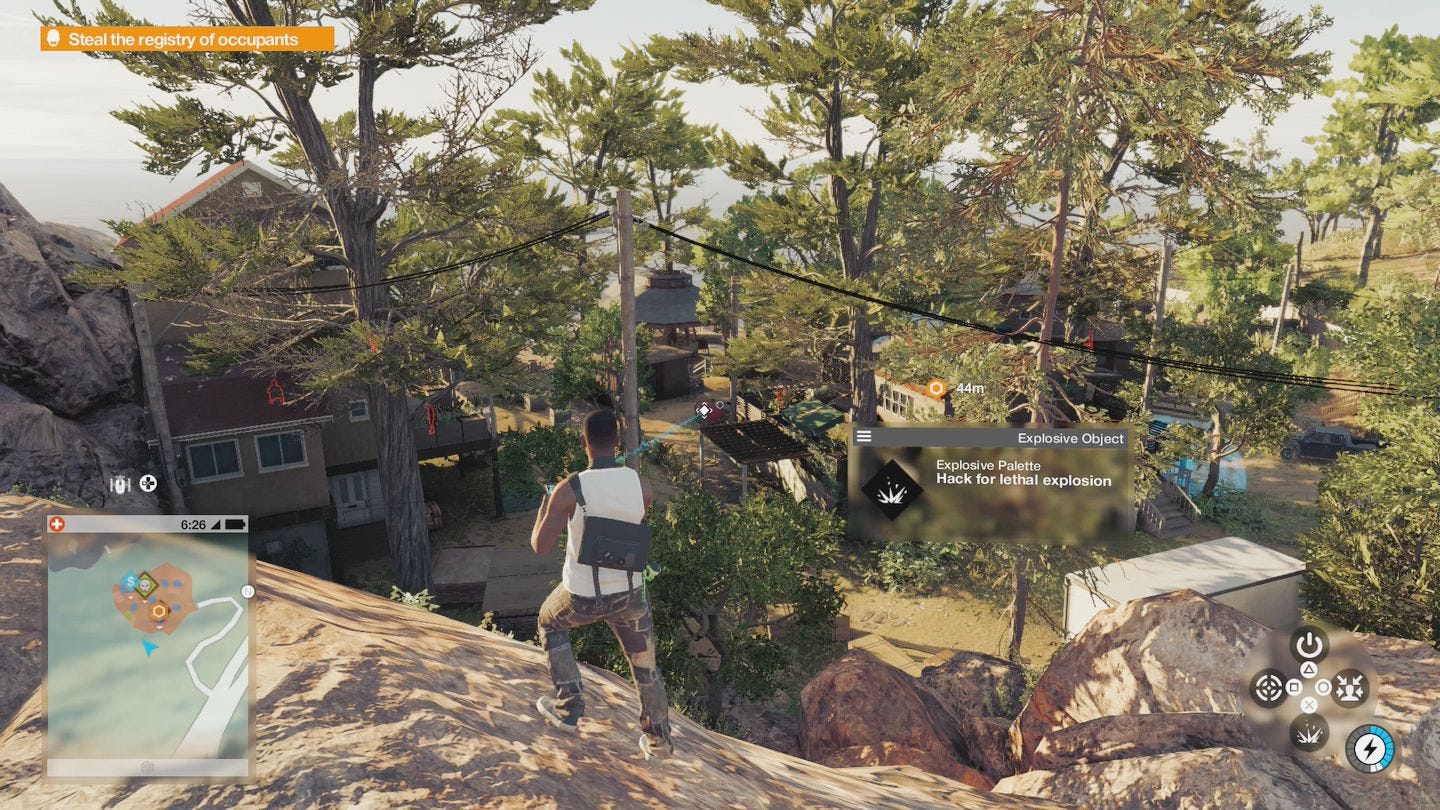
As you approach the New Dawn re-education centre make use of the cameras around the compound to tag the guards and set a few traps or distractions. The easiest way to get in is to head to the left side of the fenced area and climb the rocks at the rear, and from there you can drop inside and be relatively close to your first objective.
Head inside the shack to collect the list, and then head for the second marker - using the rocks again makes for a quick and safe route. Once on the balcony outside the next objective, hack the laptop to get the keycode, release the prisoner, and once again use the rocks to make your escape.
Blasphemer
Head to the temple and through the main gate. Before you can get in you'll need to grab the keycode from the guard's hut that sits above the garage doors, but the area is heavily patrolled so make sure to tag the guards with the cameras before you make your move.
Once you've got the key you can unlock the doors to the temple at the front or back - the front is a much shorter trip, but the back doors leave you less exposed. There's quite a lengthy puzzle segment involved in here so it's much safer to try and avoid detection by taking cover behind the pews as you head up to the balcony - the puzzle is much easier to do without constant interruptions from hostiles!
These two columns are labelled as looking at them from the balcony:
Right
- Rotate the T piece closest to you so the short end points away.
- Rotate the other T piece so the short end points up.
- Unlock the switch.
- Rotate the T piece furthest away so the short end points down.
- Unlock the switch.
Left
- Rotate the top T piece so the short end points up.
- Rotate the elbow so it sends power up.
- Unlock the switch and rotate it so it sends power to the right.
- Rotate the other elbow to send power down.
- Unlock the switch.
These two are labelled as looking at them from behind the altar.
Right
- Rotate the bottom T piece so the short end points up.
- Rotate the elbow so it sends power upwards.
- Unlock the switch.
- Rotate the elbow so it sends power to the left.
- Unlock the switch.
Left
- Rotate the T so the short end points left.
- Unlock the switch and rotate it to send power to the right.
- Rotate the T so that the short piece points right.
- Unlock the switch.
Want more tips? Our Watch Dogs 2 walkthrough and guide provides an overview of everything you can do in the open-world game, from all finding all Key Data locations, unique vehicles and finding hidden gnomes and gnome outfit, through to tips on races, ScoutX, Driver SF and multiplayer. We also have walkthroughs on Trophy and Achievement specific side-quests Ubistolen, $911 and Shadows as well as how to get more Followers and how to make money.
You should now be able to unlock the two switches on the floor followed by the one on the elevator to unlock the control panel. Step on the elevator and hit the switch, move to the far end of the room to trigger a cutscene, then board the lift again to make your retreat and end the mission. Next up is Haum Sweet Haum.