Civilization 6 Districts - How they work, best tile placement and how to get adjacency bonuses
Get to grips with Civilization 6's new feature and its helpful benefits.

Something to grips with upfront is Civilization 6's Districts - a new feature to the series - to aid both short-term decisions and longer-term city planning.
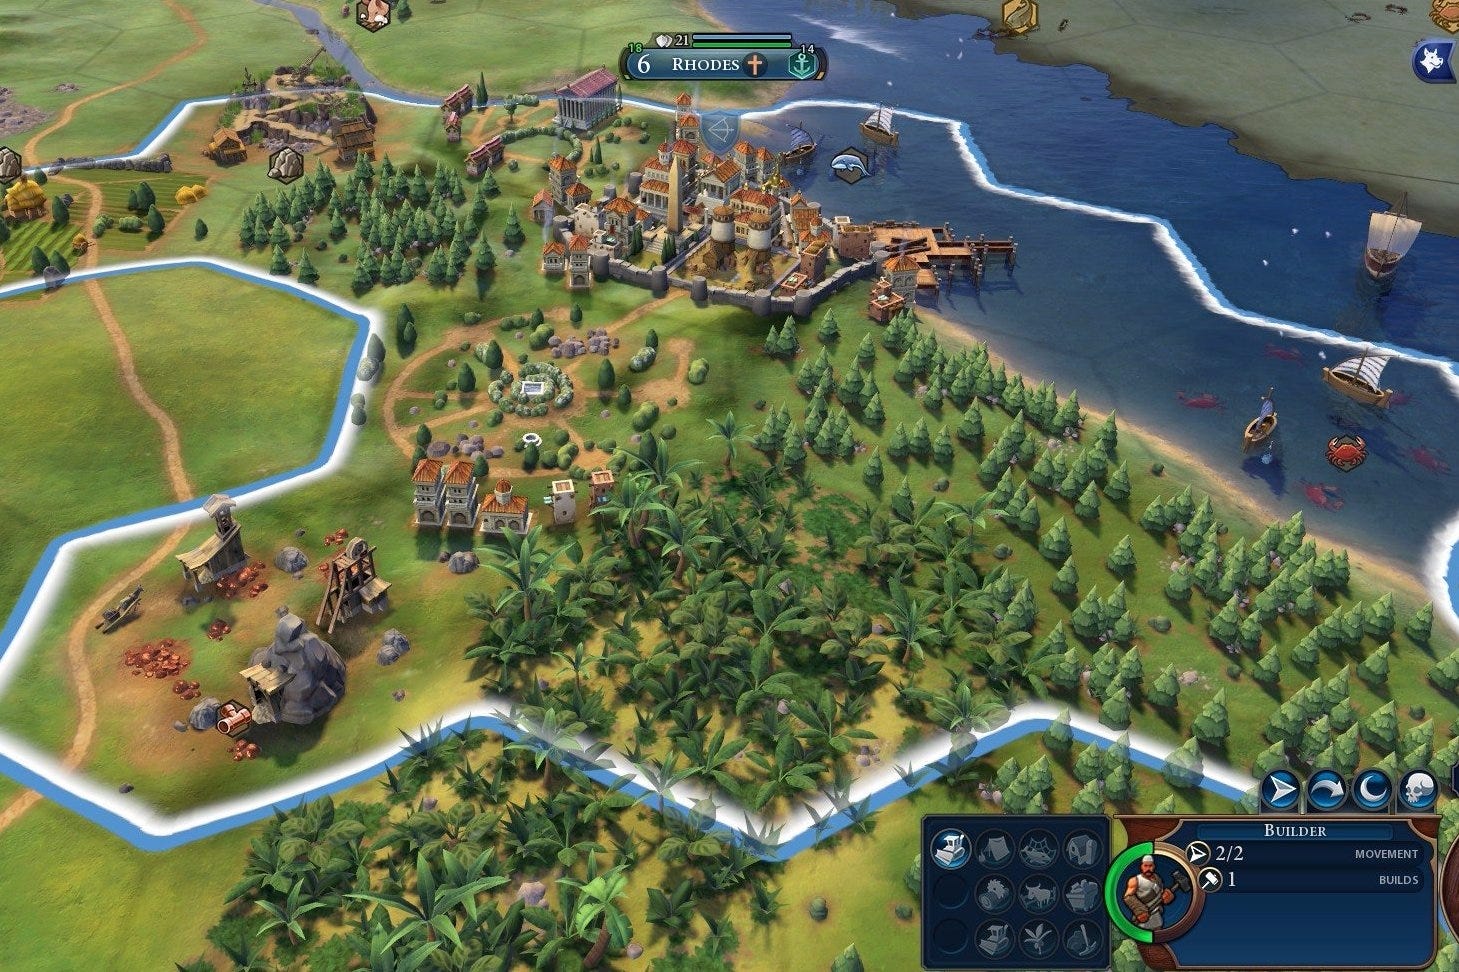
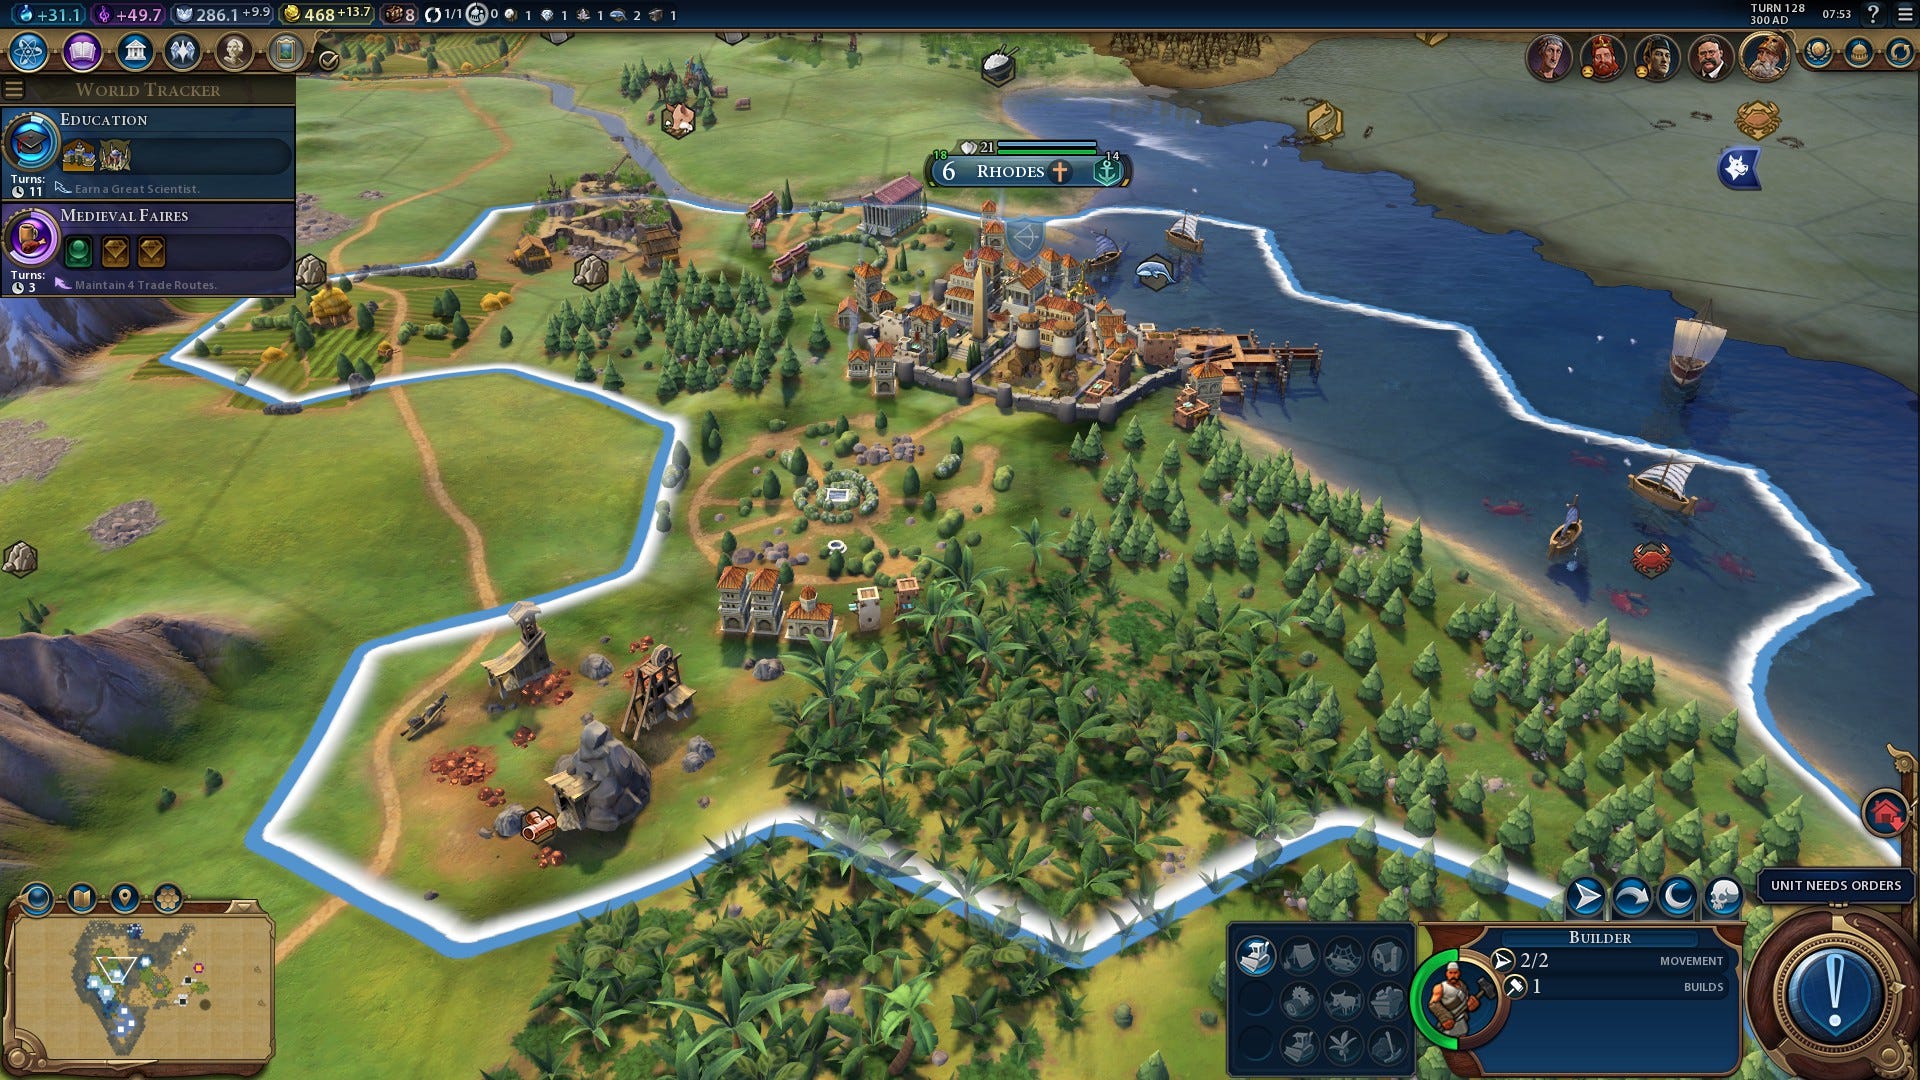
The concept of districts can be best described as 'cities unstacked'; where in previous Civilization games all buildings and world wonders were built within a city, which occupied a single hex tile on the map, districts instead offer the visual representation of cities growing in size and sprawling across your territory to occupy multiple tiles.
Just as Civilization V unstacked units for clarity and fairness, Civilization 6 unstacks cities for flexibility and empowerment. Let's delve into how they work and how to make the most of them.
A quick note: we've refreshed out Civ 6 guides for the game's launch on Nintendo Switch, but just be aware that they contain information regarding the Rise and Fall DLC as well as the base game, which means some things only apply if you have that DLC! Otherwise... crack on!

What are Districts in Civilization 6 and how do they work?
With 12 district types available to build their uses are varied and plentiful, so much so, in fact, that you won't be looking to build every type of district for each one of your cities. Instead, it makes more sense to specialise based on a variety of factors.
The choice of what district to build and when will depend on any number of considerations, from your starting location and city placement to any overarching victory goal that you might decide to work toward. Nonetheless, there are some basic things to be aware of to ensure you're always making the right decisions.
- Your first district will be your city centre. This starting district is unspectacular but gives access to some basic building types and provides adjacency bonuses to other districts built next to it. The granary and monument built via the city centre are both very useful early on to help bolster population growth and the research of civics.
- Prioritise building the districts that make sense for the type of game you want to play and the unique bonuses that your chosen leader and civilization confer. There's no point making every city a dazzling centre of culture if you're intending to go on the warpath right from the off, for example.
- Districts should not be built atop bonus resources as you'll lose access to that resource; it's hard to dig up diamonds if you've built a holy site where a mine should be.
- While some districts are particularly useful for specific circumstances, to make the most of certain terrain types or to work towards particular victory conditions, others are more generally useful. The Entertainment Complex and, later, the Neighbourhood are good bets for their ability to keep your population happy (and thus more productive) and to provide a mid-to-late game boost to housing to avoid obstacles to city growth.
Civilization 6 Districts list and their adjacency bonuses
Outside of the City Centre district, which you gain as soon as you found a city, there are 12 unique districts available to build. Some civilizations have a special district that replaces a standard one; Greece boasts the Acropolis, which takes the place of the Theatre Square, while England has the Royal Navy Dockyard instead of the standard Harbour, for example.
Typically, these specialised districts have additional bonuses but might also carry an additional requirement of being built on a specific type of terrain. The standard districts, what they offer at different points throughout the game and how to gain access to them are all listed here:
| District Name | Traits | Citizen yields (per citizen) | Requirements | Unlocks | Adjacency bonus |
|---|---|---|---|---|---|
| City Centre | Aircraft capacity: 1 (once Flight is researched) | N/A | Found city | Palace, Granary, Monument, Ancient Walls, Water Mill, Medieval Walls, Renaissance Walls, Sewer | None (bestows adjacency bonuses to some other districts) |
| Holy Site | +1 Great Prophet point per turn | +2 Faith | Astrology (Tech) | Shrine, Temple, Wat, Pagoda, Cathedral, Gurdwara, Meeting House, Mosque, Synagogue | Bonus Faith when placed next to: Natural Wonders, Mountains, Woods (per 2 tiles), Other Districts (per 2 districts) |
| Campus | +1 Great Scientist point per turn | +2 Science | Writing (Tech) | Library, University, Research Lab | Bonus Science when placed next to: Mountains, Rainforest (per 2 tiles), Other Districts (per 2 districts) |
| Encampment | +1 Great General point per turn | +1 Culture +1 Production | Bronze Working (Tech); not near City Centre | Barracks, Armoury, Stable, Military Academy | N/A |
| Harbour | +1 Great Admiral point per turn | +2 Gold +1 Science | Celestial Navigation (Tech); placement on Coast or Lake tile | Lighthouse, Shipyard, Seaport | Bonus Gold when placed next to: Coastal Resources, Other Districts (per 2 districts) |
| Commercial Hub | +1 Great Merchant point per turn | +4 Gold | Currency (Tech) | Market, Bank, Stock Exchange | Bonus Gold when placed next to: Rivers, Harbour, Other Districts (per 2 districts) |
| Aqueduct | Provides fresh water | N/A | Engineering (Tech); City Centre; Fresh Water / Mountain tiles | N/A | N/A |
| Theatre Square | +1 point per turn towards: Great Writer, Great Artist, Great Musician | +2 Culture | Drama and Poetry (Civic) | Amphitheatre, Art Museum, Archaeological Museum, Broadcast Centre | Bonus Culture when placed next to: Wonders, Other Districts (per 2 districts) |
| Entertainment Complex | +1 Amenity from entertainment | N/A | Games and Recreation (Civic) | Arena, Stadium, Zoo | N/A |
| Industrial Zone | +1 Great Engineer point per turn | +2 Production | Apprenticeship (Tech) | Workshop, Factory, Power Plant | Bonus Production when placed next to: Mines, Quarry, Other Districts (per 2 districts) |
| Aerodrome | Aircraft Capacity: 4 | N/A | Flight (Tech) | Airport, Hanger, Units: Biplane, Bomber, Fighter, Jet Bomber, Jet Fighter | N/A |
| Neighbourhood | +4 Housing | N/A | Urbanisation (Civic) | N/A | N/A |
| Space Port | Required for Science Victory | N/A | Rocketry (Tech) | Science Victory Projects | N/A |
If your lust for Civilization 6 knowledge is still going strong, expansion owners should take a look at our Civ 6 Rise and Fall guide hub which takes you through the basics of everything new, whilst we have dedicated pages on Governors and Loyalty, along with how to earn Golden Ages, Era Points and Era Score through Historic Moments, and a full list of new Civs in Civ 6 Rise and Fall and other DLC. Otherwise, our Civilization 6 guide, tips and tricks covers the essentials before you master early game, mid-game and late-game strategies. We also have tips on the new Districts feature, a Leaders list with their Traits and Agendas, plus the best ways to get Gold, Science, and Faith, how to win by Religious Victory, and how to earn the elusive Science Victory and Military domination victory. Finally, here's the Culture Victory, Foreign Tourism, and Domestic Tourism explained in depth.
Other things to know about Districts for best tile placement
Primarily, districts are used for shaping the way your cities grow, informing how you want to play the game and providing useful bonuses throughout every stage of your civilization's progress.
While many districts enjoy adjacency bonuses, generate points towards the acquisition of Great People and facilitate the construction of certain buildings, there are some useful things to consider when deciding where to place them that will help determine their longer term value.
- Not all adjacency bonuses are equal. A district that offers an adjacency bonus generates additional yield based on where it's placed in relation to other tiles. Some district's bonuses are more easily stackable than others, so The Industrial Zone's bonus for being placed next to a mine can be awarded multiple times if it's placed next to multiple mines. The same goes for the Commercial Hub's river bonus, which gains bonus gold for each river tile it's connected to. Others are less useful. The Holy Site's Natural Wonder bonus will come into play less often simply because natural wonders are few and far between. In cases such as this, mountainous terrain is often your friend, bolstering the output of both holy sites and campuses, as well as offering natural protection should barbarians or an aggressive rival leader come sniffing around.
- Encampments help turn defence into attack. If you've discovered that you're a tad too close for comfort to a rival civilization or several particularly active barbarian encampments, constructing an Encampment district is the perfect way to give your troops an advantage. The boost to starting experience is useful in making your units more durable and the fact that there's no adjacency bonus means an Encampment can be built in an otherwise undesirable tile (though it cannot be built next to your city centre). What's more, if you decide later on to indulge in a little aggressive expansion, you'll be able to churn out beefed-up, higher level troops with which to surprise the enemy. Just be aware that, if you're looking to create a balanced army, you'll need multiple Encampments in order to provide bonuses to both melee and mounted troops.
- Be aware of mutually exclusive district benefits. By now, you'll have gleaned that districts are a great way to personalise your cities and gain some useful bonuses. However, it's essential to be aware that some of their unique features require you to make choices of the 'either/or, not both' variety. The Encampment restriction mentioned above, for example, means that a single Encampment cannot house both a barracks for melee troops and a stable for mounted troops. Similarly, a single Theatre Square cannot boast both an art and an archaeological museum. Consequently, it's always worth spreading these mutually exclusive district choices throughout your empire. Where you decide to construct multiple districts of the same type in different cities, make the alternative choice in order to gain the maximum benefit.