Destiny Wrath of the Machine Vosik boss - How to beat the Archpriest, Voltage Rising, Voltage Maxed, SIVA Charge and Core explained
Here's how to progress past the first part of Rise of Iron's Raid.

Welcome to the first part of Rise of Iron's Raid, which throws you right in the deep end with a fight against Wrath of the Machine's Vosik the Archpriest boss. This is in two parts and requires a series of co-ordinated mechanics before you can deal damage, acting as a nice warm up of things to come.
Wrath of the Machine Vosik boss first encounter - Voltage Rising, Voltage Maxed, SIVA Charge explained
A summary of the steps to defeat the Vosik boss first encounter are:
- Three players - left, middle and right - have to run around the charge pads until they have a full electric charge
- Once charge is at maximum, unleash the charge in the spinner station in their part of the map
- After enough charge, the station will release SIVA Charge 'bombs', which you can throw at the boss to begin the damage phase
- When all bombs gone, attack with regular weapons and then repeat the process
Detailed breakdown to defeat the Vosik boss first encounter:
This opening boss encounter has six players split into three teams of two players, who take the left, middle and right parts of the map surrounding the stage where Vosik stands.
Each team has a runner and a shooter. The runner's job is to run around the charge pads - they are the tall beams of white light dotted around the arena - to enter a Voltage Rising phase, until they are fully charged with the Voltage Maxed phase. Wait too long between pads and you'll die. Shooters, meanwhile, clear enemies (ignore Vosik for now), including the more powerful Volt Eaters that emerge.
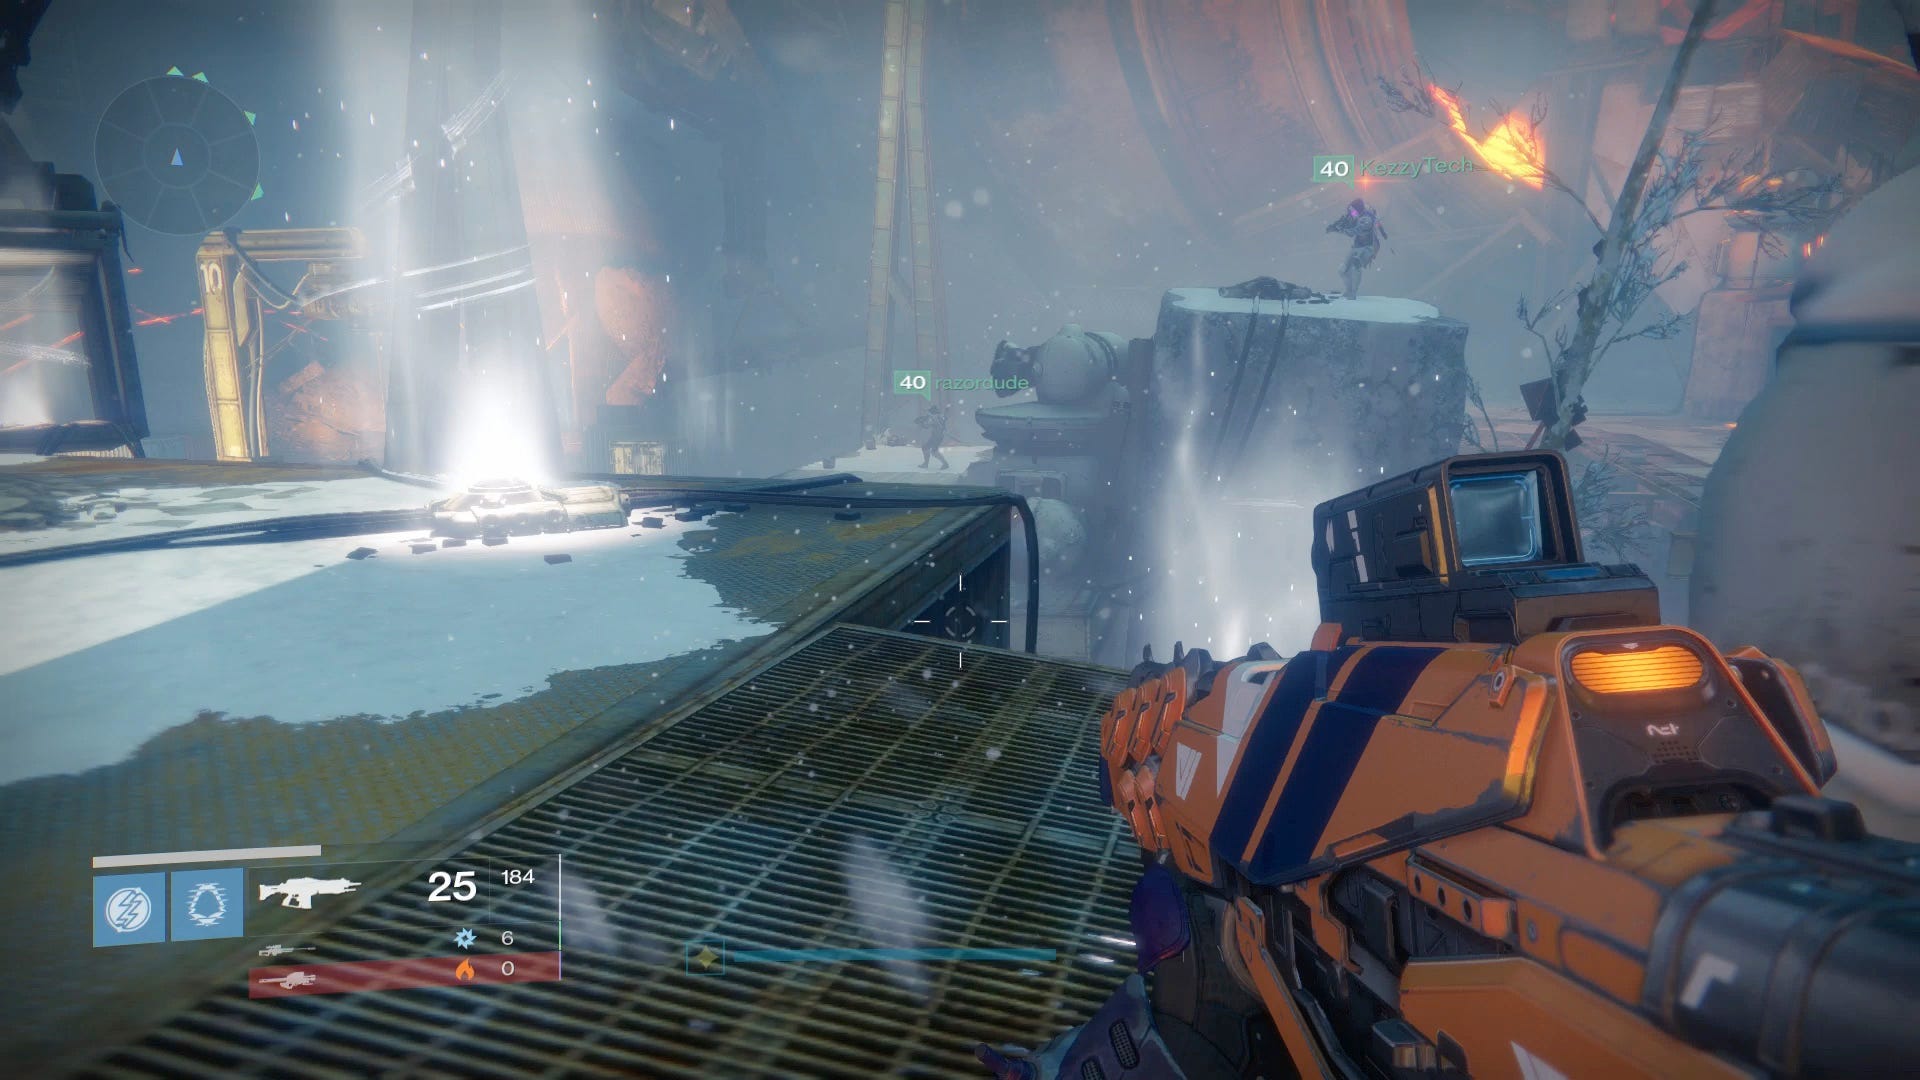
After four pads runners should be at maximum charge, at which point they go back to the spinner station (designated by the white ring surrounding it) to discharge themselves with a slam dunk by pressing the button prompt when it says 'Discharge Voltage'. The role of the shooters in this stage is to stand in their part of the map and simply clear away enemies.
After enough time, bombs will start to dispense out of the station on all three areas of the map. Both players retreat and start collecting the SIVA Charges (from now on described as 'bombs'), and throw them at Vosik (tap the right trigger) to deal damage. When all the bombs are gone, switch to weapons (snipers are ideal) until the phase repeats itself.
Provided you are around the minimum level, the enemies or Vosik won't cause you much hassle, and after enough damage, Vosik will retreat and you can enter the Raid proper.
Other things to know about the Vosik boss first encounter:
- To start the encounter, all runners have to have a maximum charge.
- While runners will quickly get a feel for the charge pads in their 'area', the rate and where they start to respawn is unpredictable. Keep an eye out in the distance, and don't feel bad for going over into someone else's patch - it's better that than dying and having to wait until you respawn.
- If you see a message saying 'Ravine / Freight Yard / Assembly Line spinner is losing voltage', it means that area of the map is not getting enough charge. That said, the frequency and timing of the base station discharges is pretty lenient, and we had a few deaths and still triggered the bomb phase.
- When throwing the bombs, aim just above Vosik to make sure they reach him.
- Having a bubble during the bomb throwing phase - especially Weapons of Light - might allow you to retreat from any fire, and boost your firepower once the bombs are gone.
- Vosik will warp around the area, but should be ignored as best you can. Runners can accidentally run into him, triggering their deaths, so be careful!
Find Vosik's Lair in Wrath of the Machine
Once the encounter is over, all players have to board the stage, and take the platforms up until the next area. At the top is your first Wrath of the Machine non-Gear chest, featuring SIVA Key Fragments and Engrams - no gear just yet.
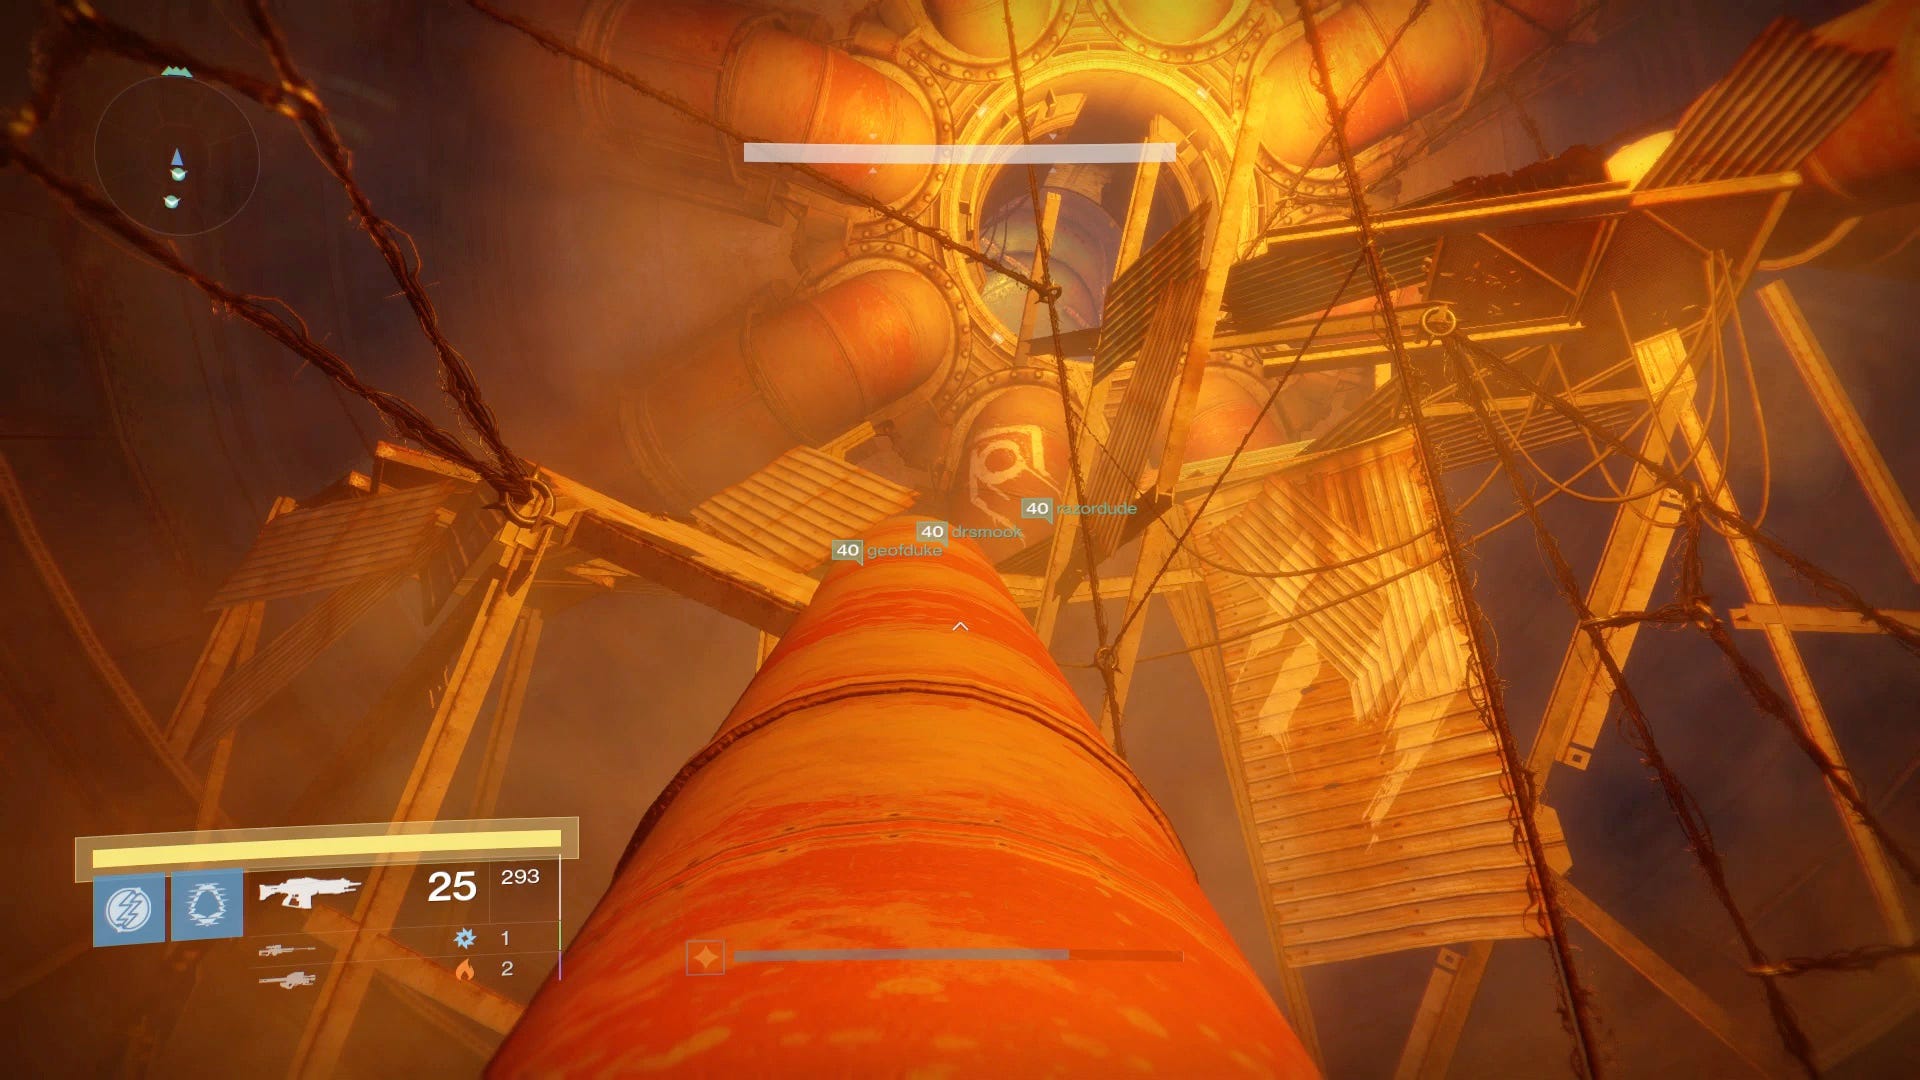
Following is a series of platforms to find Vosik's Lair. The route is fairly linear and easy to find, so take your time (go one person per platform, as it's a bit of a squeeze) until you reach a corridor.
Before you head down the corridor, though, there is an area that goes off to the right, at the end of which is a Dormant SIVA Cluster; run to the end, jump onto the ledge opposite, then back again to the other side, where it'll be at the very top. We won't supply images here to keep this page faster to load, but check our Dormant SIVA Cluster locations page for more specific directions if you need them.
There's also a Hidden Chest location too, if you want some extra materials, found by jumping up the suspended tank halfway down the passage, and entering the room up above. Again, see that article for more specific details if you can't find it.
Once you've got the Cluster, proceed down the corridor and drop down into the lair - and the Vosik fight - proper.
Wrath of the Machine Vosik second encounter inside his lair
A summary of the steps to defeat Vosik's second encounter are:
- Like before, split into three teams, two players per team in the left, middle and right.
- Bombs will fall in each section. Collect them, and throw them at Vosik at the same time.
- Watch the screens above him and shoot out the one that lights up.
- Repeat this until his shield is down, and the damage phase begins. Gather players in the middle here, and throw the bombs that drop too.
- When the contamination phase begins (SIVA Density Critical) players must very quickly run to whichever chamber is open at the left or right of the arena, and shoot the door closed once inside to ensure everyone survives the attack.
- Repeat the process until he's down.
Note! Heroic difficulty and Challenge Mode introduces additional mechanics and challenges during this battle. Once you are accustomed to beating Vosik normally, see our Wrath of the Machine Hard mode and Challenge Mode articles to see what's new.
Detailed breakdown to defeat Vosik's second encounter:
This is similar to the last phase, but with less running, more shooting and a higher chance of the team wiping in a couple of ways.
Split into three teams of two, left, middle and right (to keep it simple, consider the same teams as before), and each team into two roles - one to throw bombs and the other to shoot enemies.
At the start of the encounter, wait at the backs of each area, both killing enemies that appear in front of them. One of these will be a Captain, and it pays off to take them out quickly with a Super or Heavy if you can.
A bomb will then drop somewhere within each area. Have a player collect it, and when the team has all three bombs - one in each area - collected, throw it at the same time at the boss to damage his shield.
Once you have thrown the bomb, within five or so seconds, one of the screens above Vosik will light up with the Contamination symbol. Have several if not all players shoot it as fast as you can. If you wait too long, the team will wipe.
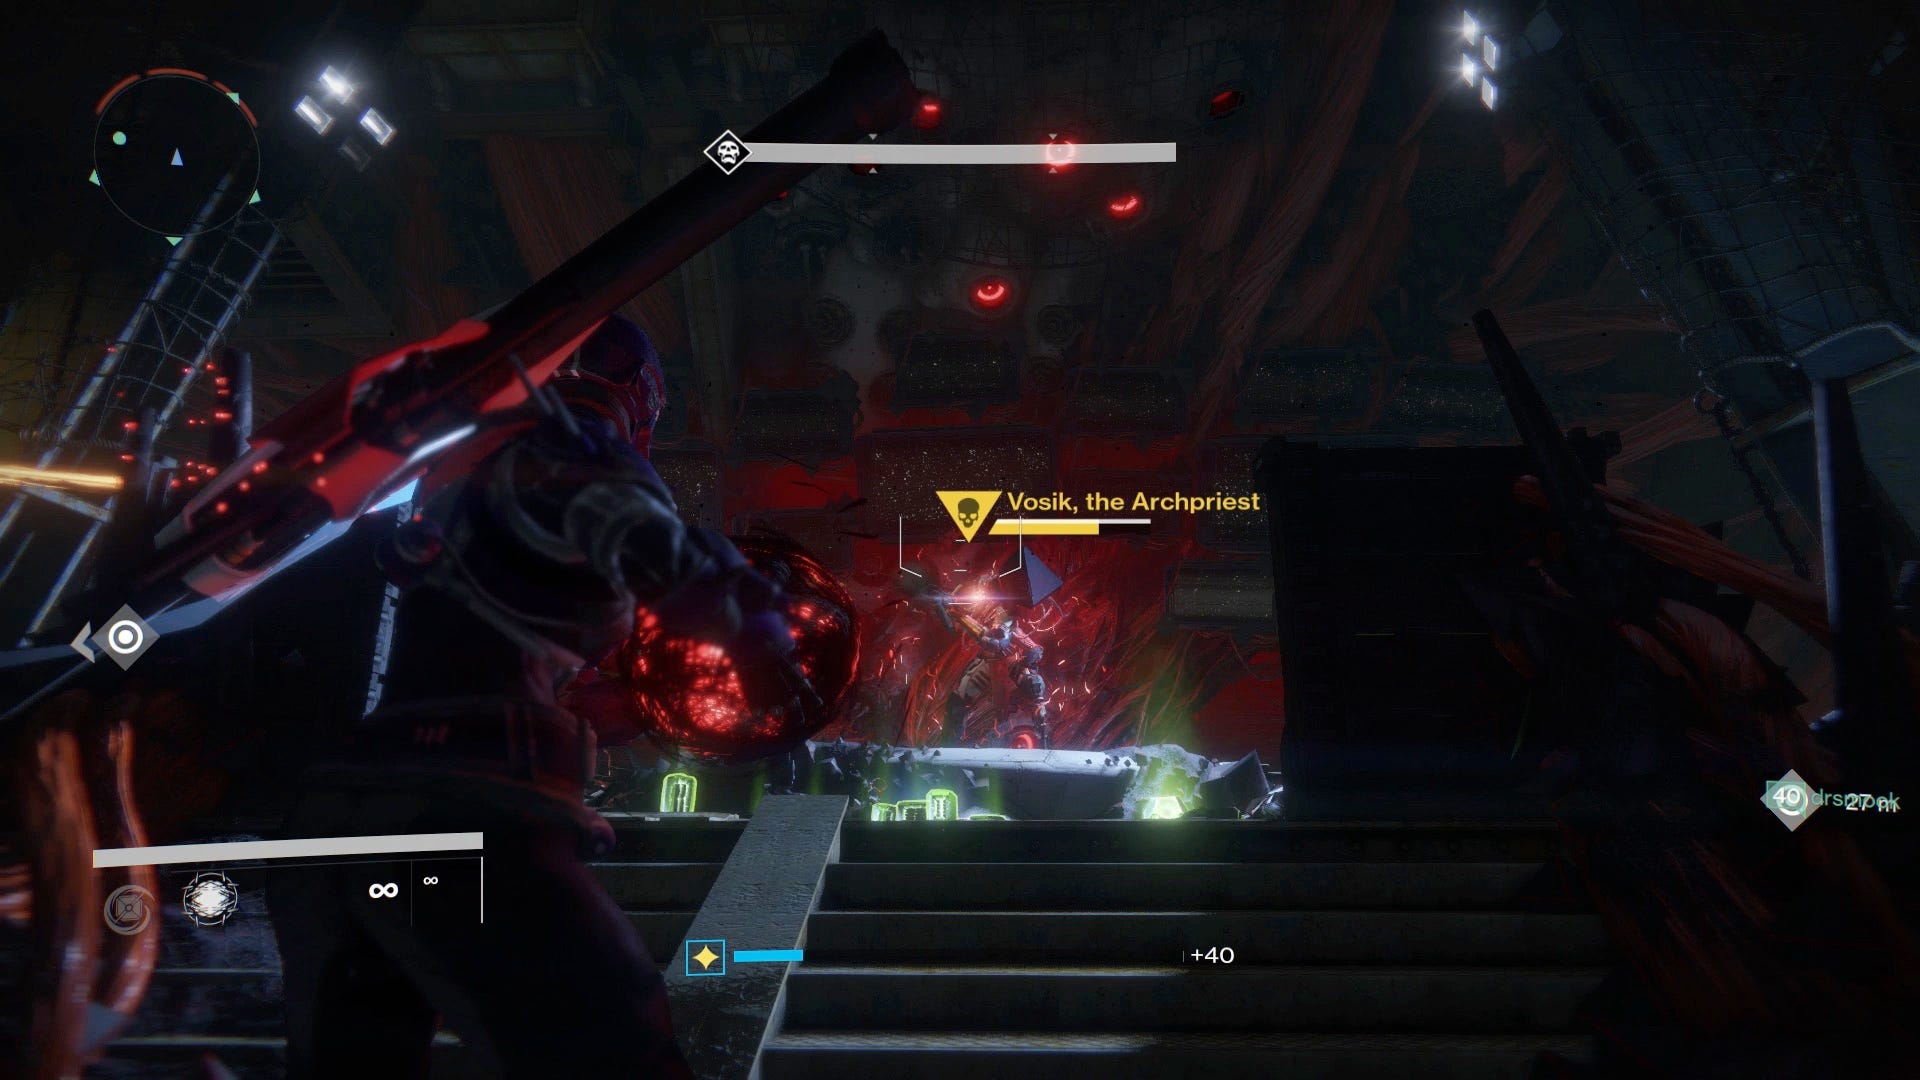
The process will repeat until the shield is down. At this point, all players run to the middle and fire at Vosik, ideally sniper shots to the head for critical damage. Two bombs will drop as well; have two players throw them as soon as you can - no need to co-ordinate at this point.
At the same time, two designated players must keep tabs on the side chambers. There are two on each side, front and back, and one will light up as Vosik readies an attack. The two players - watching each side respectively - will call out which room is open, and as the SIVA Density Critical message appears, everyone must sprint as fast as they can. As soon as everyone is in that room, turn around, and shoot the handle to the right to 'shut' the room to survive the attack by having a 'clean room'.
It's important you get this part of the battle done as fast as possible, as the timing is very tight. Anyone outside the room will die, and you must make the call to lock the room if only a few of you can make it - it's either that, or not at all.
Once survived, return to positions and repeat the process. The only thing that changes is halfway through explosive Shanks will start to spawn, but if you can see them falling from the ceiling with plenty of time, making them fairly easy to clear.
If you keep it smooth and deal enough damage, you'll kill him before he has a chance to enrage and wipe the team.
Other things to know about Vosik's second encounter:
- To start the battle, one of you (possibly someone in the middle) has to run forward.
- The position of the bombs within each area drop in random positions. When you hear the bomb sound (it's the same as the mine noise in Prison of Elders) look up and you'll see where it'll drop nice and early.
- Co-ordinating the bomb throws between three of you is one of the most difficult parts of this battle to get right. We had one person call out when to throw (after the other two said they were 'ready'). That person had to wait a couple of seconds to throw themselves to compensate for the voice lag, but this will depend on your connection.
- Something that can happen for the middle player is that the bomb will hit falling enemies mid-throw. This is unlucky and it'll be difficult to time it otherwise; if only two bombs hit at the same time, you'll still get some damage down.
- The Captain that arrives before the bomb can be difficult to clear, but the bomb throwers should ignore them as soon as bombs arrive. Having a Super will really help.
- The part that's very easy to forget is shooting the screen after the bomb is thrown. Have multiple people remember and call this out so no-one forgets. The screen will be on the left or right side, and should be easy to see, you just need to remember to keep an eye on it.
- A 'Weapons of Light' bubble from a Titan's Super during the damage phase will help with your damage output.
- When it comes to running to the chambers, if one or more players don't make it in time and have time to move, have them run back to their original positions, so that they can respawned where they should be to continue the fight.
- To reiterate, you need to be fast during the chamber running stage. It's apparently possible for a chamber on both sides to be lit, and it's believed only one should be shut. Whoever of the two watching the chambers calls out their side first, all go in that direction - no discussion, just go!
- During the battle you may receive a Vosik Core item, which you need to take Tyra Karn in the Iron Temple to receive some Glimmer. Despite it's special designation, it doesn't seem to do much outside of that.
Once the battle is over, the boss will drop with Raid-specific weapons or armour. Congratulations!
Want more Destiny: Rise of Iron guides, tips and tricks? Then read our Wrath of the Machine walkthrough and guides, complete list of all Dormant SIVA Cluster locations, tips on how to reach Destiny's max Light level, how to complete the Exotic Gjallarhorn Quest, Khvostov 7G-OX Quest and Thorn Quest and new modes Vanguard Elite Strike Scoring and SRL.
Before you leave - assuming you want to activate monitors for the Outbreak Prime quest - go into the second 'clean room' on the left, up into the ceiling for the first monitor location.
When you're ready, go to the right corner, down the corridor for another simple platforming 'puzzle'. Again, it's a simple linear series of platforms that are best taken one at a time. Take the upper-most route for another hidden chest and Outbreak Prime monitor in an area that shoots off to the right (a little after and on the opposite wall to the two pairs of pipes on the left side) that are reasonably straight forward to locate - but check that article if you want more specific instructions
.There is another Dormant SIVA Cluster to be found on the way too. At the end of the first 'set' of platforms, the path cuts left briefly to inside a container, but coming out again onto floating platforms. The long platform before you 'cut' in has a ledge above it. Jump up, and face forwards. You can leap on top of the containers ahead - throw a grenade to light the way, as it's a little dark - and the cluster is at the top. If you need more specific pointers then see our Dormant SIVA Cluster locations page.
Keep going until the end of the platforming section - again, it's pretty straightforward, just take your time - and before you go to the next area, turn around and jump on the upper girder that runs along the centre of the room for the third Hidden Chest in Wrath of the Machine for some more materials.
Now keep going until you emerge to the next encounter, the Siege Engine.