Mirror's Edge Catalyst - The Shard
Scale the tallest building in the city of Glass in this final mission.

Go back to: Mirror's Edge: Catalyst - Guide
Collectibles: 2x Recordings, 2x Secret Bags (The Shard)
Unlocks: Gridleak unlock node
Before you start this final mission, while you won't run into too many combat scenarios, it's worth putting some progression points into damage towards Sentinels and stamina upgrades. Don't worry about finishing anything in the open world too - there is no point of no return, and you can mop up any collectibles or side-content once the mission is over.

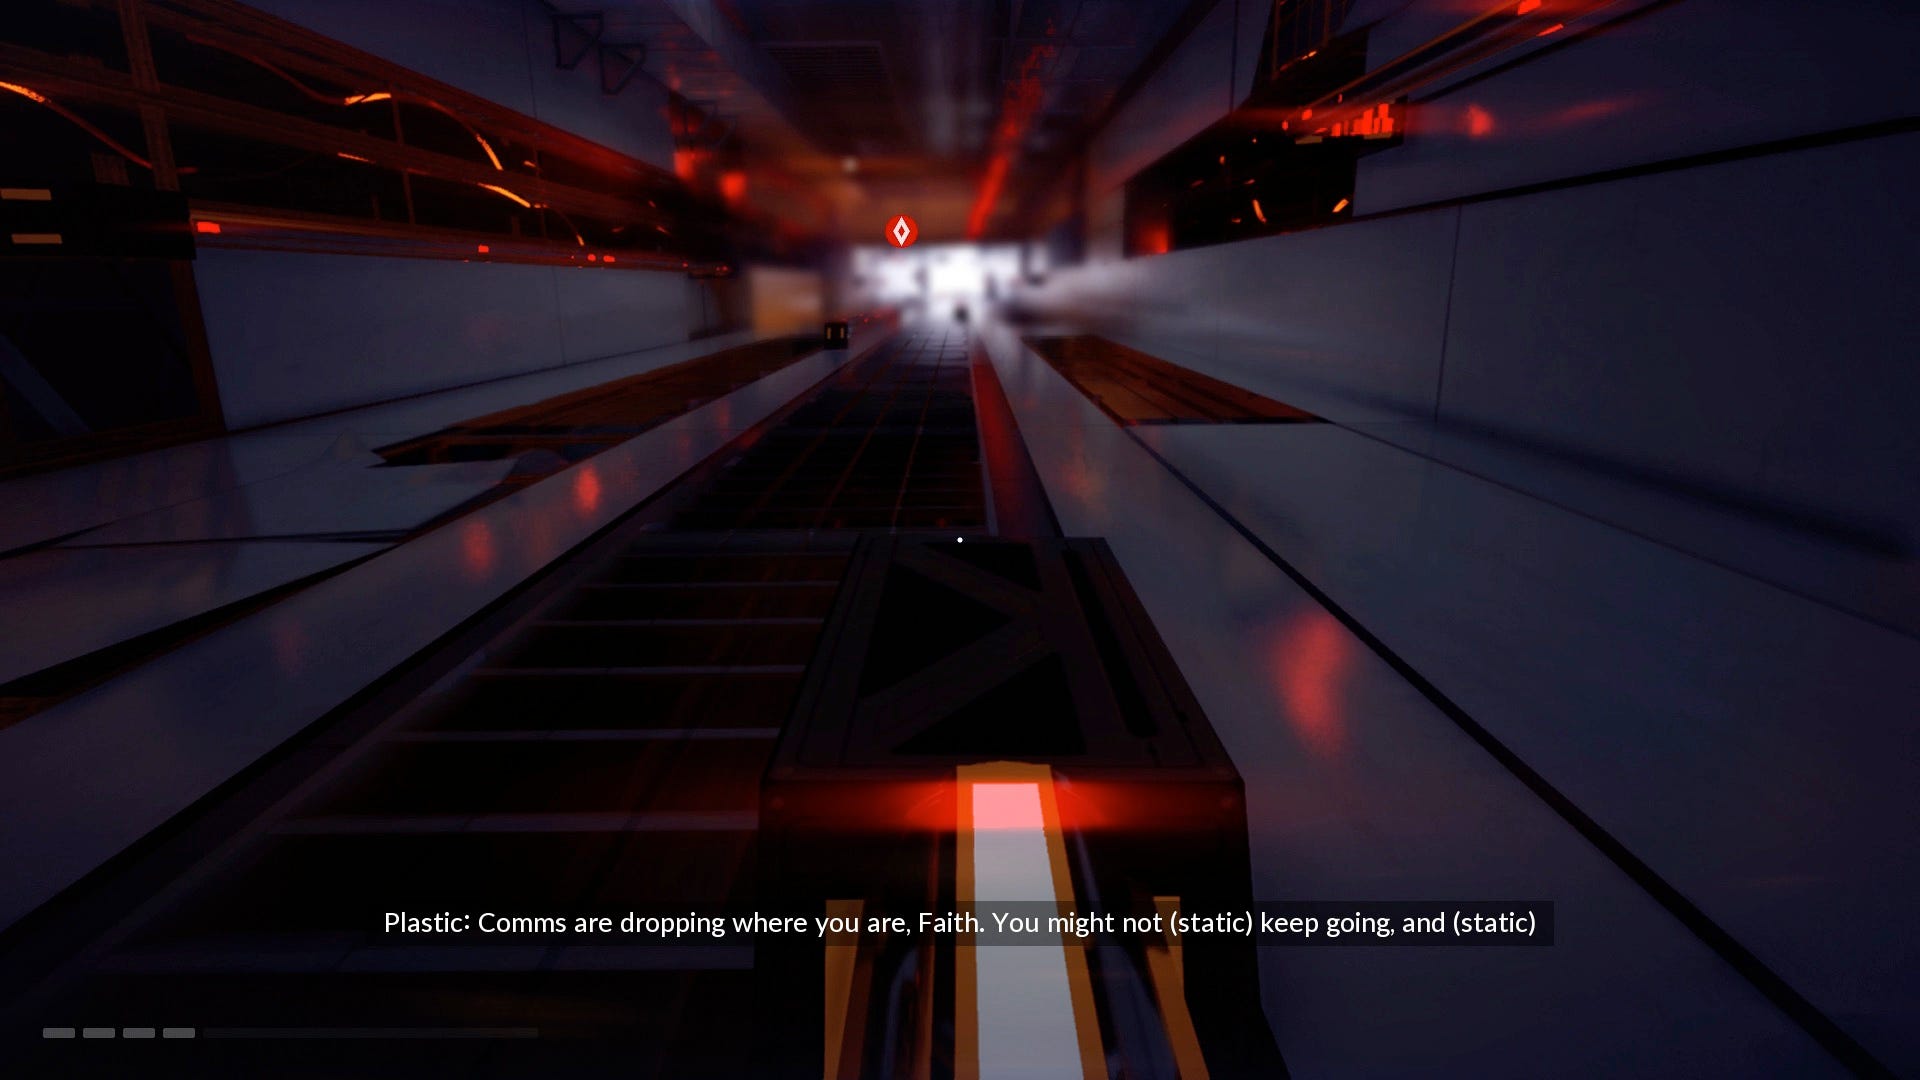
Whenever you're ready, head to Plastic at her hideout, then run to the way point in Shimmering Heights to start the mission proper. You'll then take the train ride to The Shard, dodging the signs that zip past - though you can be hit by all of them and still be fine!
Make your way to the top of the building
Run over the safe portions of glass as indicated by the Runner Vision, and head onto the panel to take a lift up. Wall run between each lift when you come to a stop, then take the pipes up until you reach a ledge and a door. Go through it, down the passage, over the fan (just leap forward and you'll auto-complete the rest to the other side) and out to an area with patrolling KrugerSec.
Take them down, then head through the door ahead to go outside, where you'll be next to the massive fan. Use your MAGrope when one of the blades swings by, and you'll enter a cutscene that takes you to the top. Take down the other two KrugerSec goons, then head round to the fans on the wall, one of which Plastic will disable. Go in, up the vent and ahead to a vertical passage, which is introduced to you by a drone that falls to the ground.
There is falling debris from above as you climb. Jump onto each red flashing pipe - the first is directly ahead - and constantly look up. The debris only falls when you jump onto set pipes, so when you land on a new pipe, look up and take a few seconds, and it mostly comes down on the pipe you're about to leap to - punishing speedy players. So keep looking up, take your time, and eventually you'll reach a vent.
When you emerge, you'll be at an atrium. Swing over from the middle platform to a lift, and go through the vent. Don't speed down this passage too quickly, or you'll slide and shoot off the end and to your doom. Though it's hard to see, there is a pole in the middle of the shaft that you can use as a stepping stone to more red flashing pipes that take you up. Again, expect more debris to fall, so keep looking up and take your time.
At the top you'll emerge in the open again, in a corridor exposed to the outside world, covered in debris. Step forward and MAGrope up to the above ledge, where you'll continue up battered walkways, and leap over the gap.
- Recording: Paths Diverged 02 - After you've MAGroped up to this brightly-lit section of damaged walkways and hopped over the gap, the recorder is on the corner ahead.
Continue hopping over the destroyed walkway, going round to the outside of the building, allowing you to get up. The overhead poles require a leap of faith onwards as you carry on out the outside of the building. From here, it's a linear path as you'll loop inside and outside the building using MAGropes (if in doubt, look up and you'll find a grapple point) and dashing over walkways. Soon they will start cracking and collapsing, but it's just a case of keeping going at speed and MAGroping up as soon as you can.
At the end of one collapsed walkway, you have to do a 180 turn and wall run and leap up to a ledge. MAGrope up, and then carefully take the wire strung between the two buildings over to another huge fan. You need to MAGrope onto another one of the blades; it's easiest to time it standing about two thirds of the way down the wire, which will shoot you to the very top.
As you turn the corner MAGroping up after the wrecked corridor, there is a RECORDER (Paths Diverged 02, The Shard, 36 mins) on a desk ahead.
- Secret Bag - Once you've arrived at the top of the second giant fan, don't proceed onwards just yet; turn round and jump out of the window, where you'll see the Secret Bag resting out in the open.
Back inside the building, head up the steps and right round the corner. You'll run into a lot of KrugerSec, but don't worry, you don't have to fight them all; run ahead so they notice you, and Plastic will open an elevator in the prior area, which is filled with more red glowing pipes you can take up. Ignoring the KrugerSec firing out at you - just go up as fast as you can - and soon you'll be back outside, where you can MAGrope up to the roof of the building.
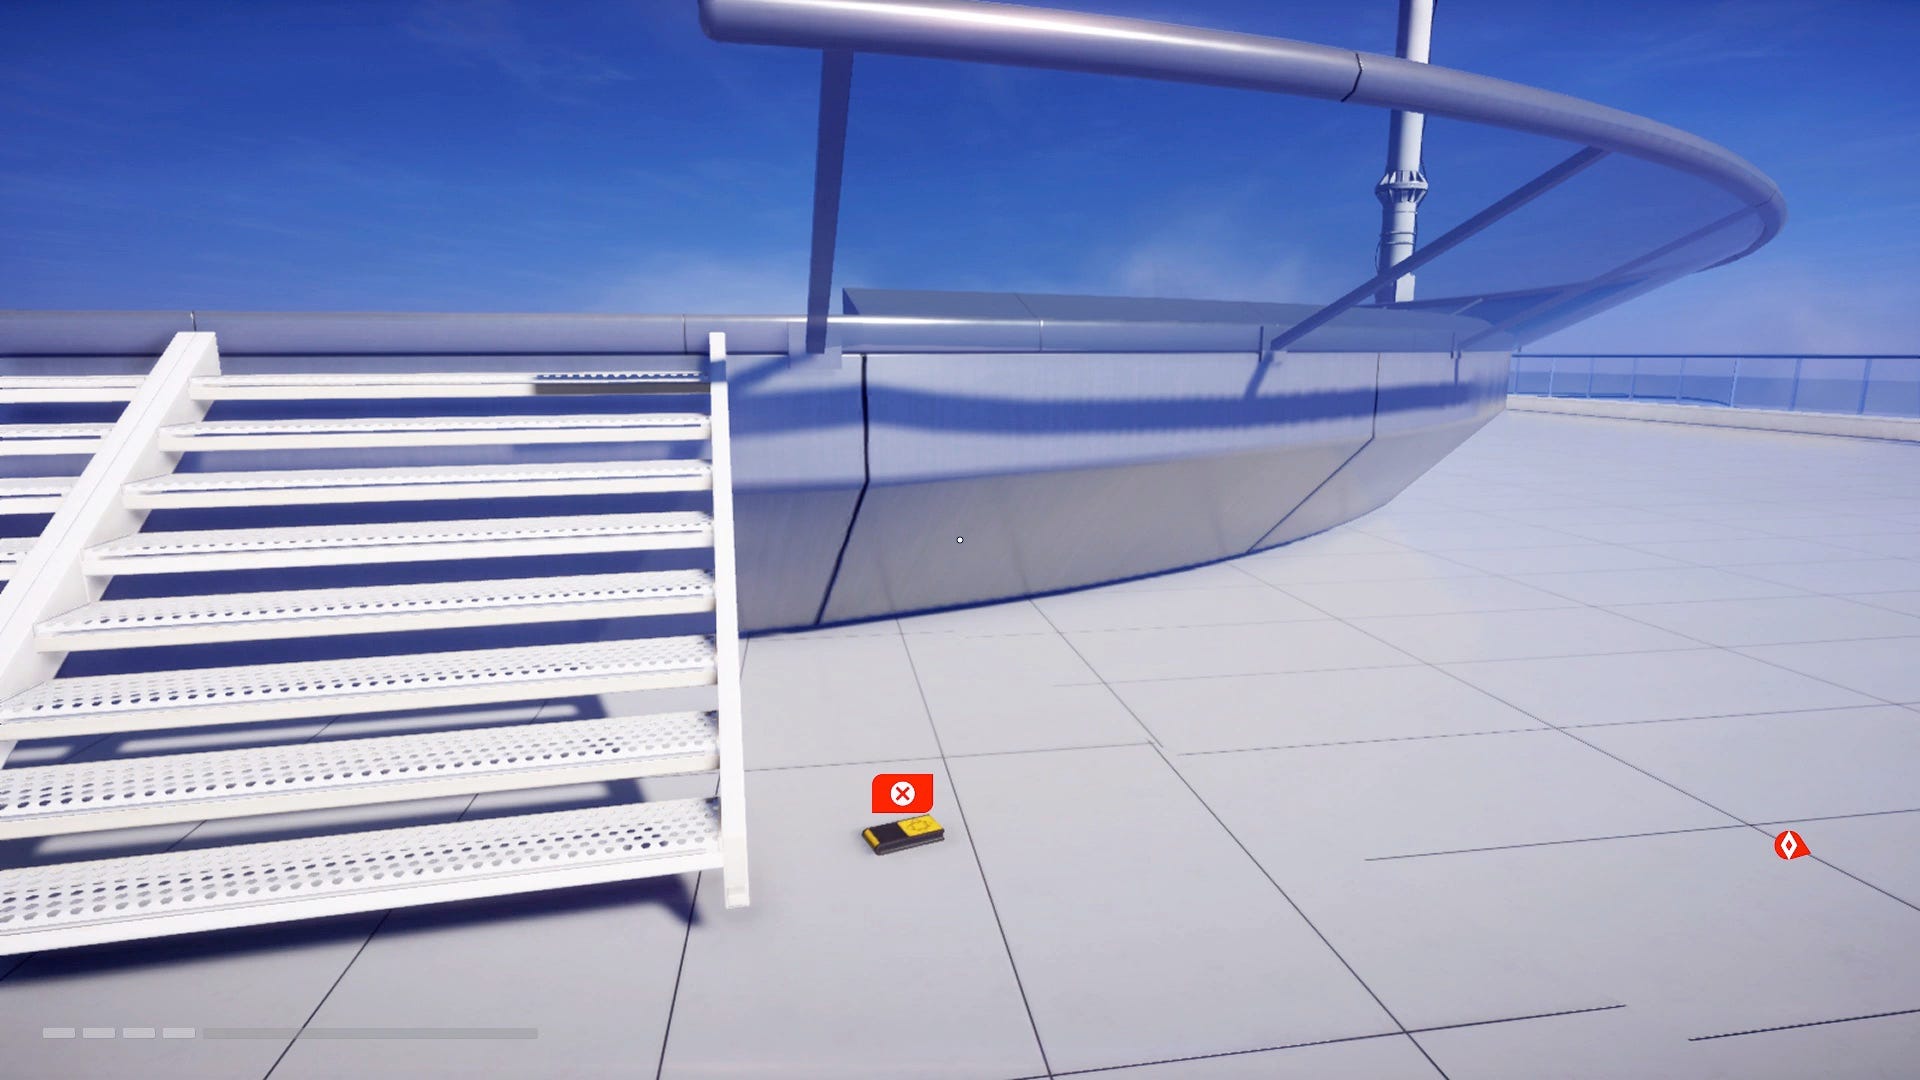
- Recording: A New Life 02 - On the roof of the building there is a helipad to the right. Run round and you'll find the recording by the steps.
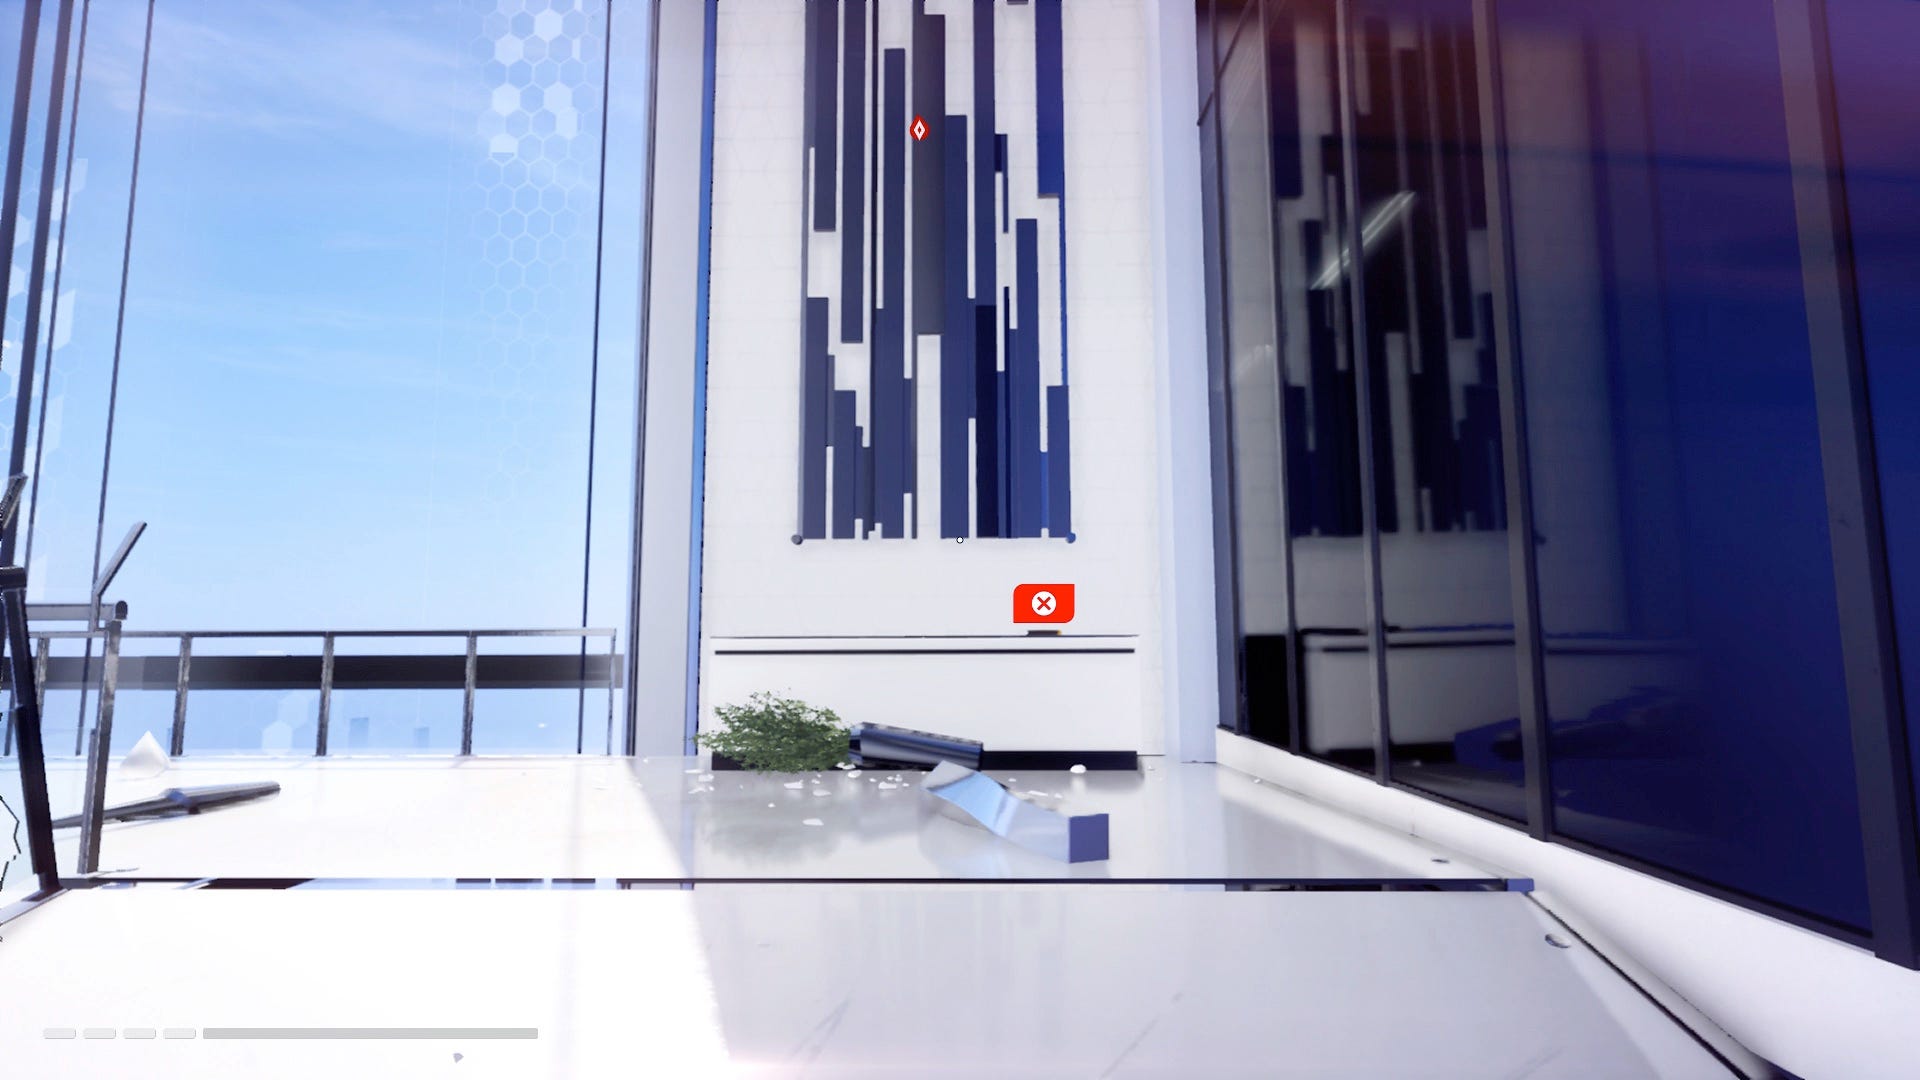
- Secret Bag - Also on the roof of the building, go down to the lower level and before you go through the doorway to proceed with the mission, find the patch of vegetation in the corner. There you'll find a Secret Bag.
When you're done fetching the collectibles, take the door down on the lower level and use the console in the middle of the room.
Taking on the two Sentinels
After the cutscene, you'll have a fight against not one, but two, Sentinels. The best tactic here is to run away, looping round the screens, desks and railings, coming in to attack from a leap or at their blind spots, then running away again. If you have upgraded some of the higher damage nodes, then this method of chipping away won't take long.
If you get hit, then immediately shift to the side or behind, as the other will almost certainly come in with a follow up attack, and there's a chance that'll continue happening over and over until you're low on health. So approach this as a war of attrition, chipping away at their health whenever you can. Be patient and cautious, and some victory will be yours.
Follow Cat
Once the battle and the cutscene is done, follow Cat through the door, onto the roof and down the zipline. After falling down a few buildings, run through to the helipad, and watch the final cutscene. Congratulations, you've finished the game!