Mirror's Edge Catalyst - Tickets Please
Subvert the transit control hubs across the city of Glass.
Continue with: Mirror's Edge: Catalyst - The Shard
Go back to: Mirror's Edge: Catalyst - Guide
Collectibles: None
Unlocks: 'Hacker Time' achievement, 'The Shard' main mission
Before you can unlock the final mission, Plastic will guide you through the open world to subvert a number of control hubs first.
Subvert the first transit control hub
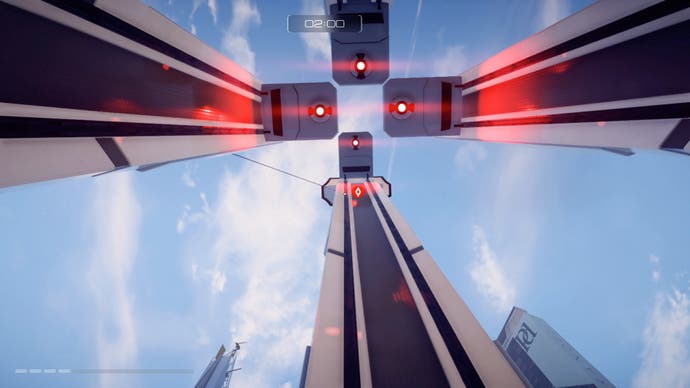
Make the short hop over to the hub, and pull down the platform above with your MAGrope and quick turn jump your way on top of it. Do so again with another platform, and then stand on the pole to reach the panel at the top.
Subvert the second transit control hub
Now you have just over three minutes to reach the second hub. Take the zipwire down from the top of this hub and the route past the Lair to reach it. When you get there, you need to take care of some KrugerSec guarding the base. Despite the time limit, not only is there plenty of time to take all these out - they are low level goons after all - this is important as the second hub is a trickier platforming section than before.

The platforms that get you to the top move up and down, and you need to leap from one to the next. After quick wall jumping up to the first when it's low enough to scale, wait for another to come down, hop over, and keep going until you can reach the top. Keep your cool and you should reach the top in plenty of time. But if you fail, then it's only three minutes to try again, so not too much time would be lost.
Subvert the last control hub
Once done, you have to make your way to the last hub. Take the zipwire down and follow the route. The last hub is a combination of the last two hubs, requiring you to pull down the moving platforms before you can scale them. Again, keep your cool and time it right and you should make it with plenty on the clock to spare.
Once you're done, you have an escape phase to deal with. There are a lot more goons than in previous phases, but the same standard approach applies - just run to the nearest Safe Zone, and it'll shut down as soon as you do, ending the mission.
An additional that for us the Danger Zone achievement unlocked when it was done, and while that could have been a bug (let us know if it did for you too!) the amount of low level enemies that you come across as you try and escape makes this a good place to keep your focus up and take down enough enemies in quick succession before it runs out.


