Tom Clancy's The Division - How to beat all of the side missions in the game
How to beat all of the side missions in The Division, with guides to all of the tasks featured in the Combat and Exploration categories.
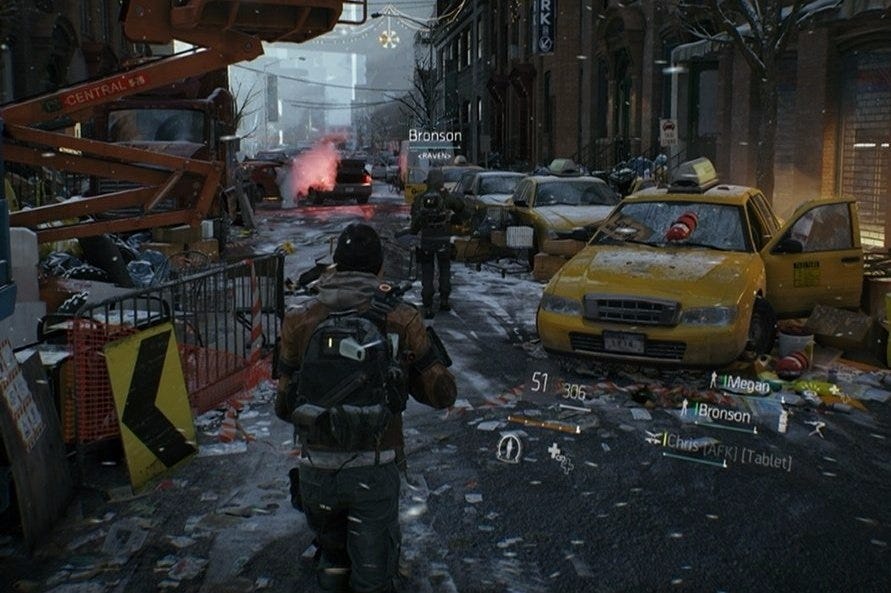

There are a lot of side missions in the game, and in order to keep up with the level requirements of the campaign missions and to reach the end-game, you'll need to do a fair number of them. While they may seem overwhelming at first, they can be broadly split into combat and exploration categories, each of which features a few variations on the following themes.

Combat missions
Most of these are defensive in nature and involve holding a location either for a specific length of time or against a set number of enemies. The three exceptions - Stronghold, Rescue and Kill the Commander - take a more offensive approach. The main difference being that you go to the enemy, rather than the enemy coming to you. This gives you a little more control over how the fight plays out.
Supply Drops
These mostly take place out in the open with patchy cover, so situational awareness is important. Start by clearing out the enemies from around the marker, and after a few seconds ISAC will warn of more incoming foes. Watch the mini-map to determine which direction they're coming from, then position yourself appropriately and deal with the oncoming wave. Once they're cleared, another marker will appear. Head towards that marker and repeat the process until all drops have been secured.
Checkpoints
These are located at a number of major crossroads throughout the city. Your first task is to clear the enemies from around the checkpoint so you can get to the radio transmitter. Once it's activated, a countdown timer will start, and your job now is to hold the position until reinforcements arrive.
Enemies will usually approach from outside the checkpoint barriers and there's plenty of cover available. If you're playing solo, setting up a sniping position on top of the checkpoint hut is a reliable strategy. Once the timer runs out and reinforcements arrive, clear the remaining enemies to complete the mission.
Stop the Weapons Deal
A cross between supply drop and checkpoint. There's only one crate to defend, and you simply have to hold it until reinforcements arrive, then wipe out the remaining enemies.
Defend the JTF Officer
Clear the enemies from the area then speak to the JTF officer. This will spawn several waves of bad guys, and your job is to prevent them from killing the officer. This is hampered slightly by his reluctance to stay behind cover, and while he can tank quite a lot of damage, things can go south pretty quickly if he gets surrounded - keep an eye on his health at all times.
Stronghold
Your task with these missions is to clear out an enemy faction from an occupied building. Concentrate on the ones patrolling outside first, then take out the ones inside. When they're almost gone, a second wave will emerge and bring with them an Elite. The Elite will be slow-moving and easy to avoid, so focus on the smaller enemies first before grinding down the Elite's shields and finishing him off.
Rescue the Hostages/Free the Civilians
This is essentially a Stronghold mission, but once the enemies are cleared you need to free the prisoners. You may need to locate a key to do so, but it will be clearly marked on your minimap, so grab it then set the prisoners free.
Kill the Gang Commander
When you arrive at the checkpoint you'll be given the location of two Elites. Each one is guarded by a handful of men, so take those out then concentrate fire on the Elite. Once they're down, the actual mission target will reveal himself. He's a slightly tougher version of his underlings, but tends to have fewer guards.
Water Supply
This is essentially a variation on the Supply Drop mission, but situated in the sewers. Enter the location and interact with the valve, and then keep the enemies at bay while the timer runs its course - you'll be fending off Cleaners, and as they're fairly slow-moving and have limited range, just watch the mini-map to find out where they're coming from, then eliminate them from a safe distance.
At around 30,% 60% and 90% completion you'll also need to interact with a secondary valve within a time-limit, but there's no real urgency and you can safely wait until the current group of enemies is gone before turning it. You'll have plenty of time before the next wave appears.
Supply Acquisition/Mercy Drop
Similar to a Supply Drop, but you have to pick up the supplies and return them to a marked location. While you're carrying them, you move slowly and can only use your sidearm. Your choice here is to risk tanking the damage when a wave of enemies appears, or drop the item, defeat the enemies, and then pick it up again when it's safe to do so.
Exploration missions
Broadly speaking, there's little or no combat involved in these and while you may run across enemies, killing them is more a matter of convenience than necessity.
Missing Persons
Each Missing Persons features between four and six locations. Head to the first marker and activate the Echo. Next, wander around the reconstructed area to find one or more orange objects that can be interacted with. Remember to collect the Echo before you move on to gain a few XP, and then follow the marker to the next.
Virus Research
Enter the contaminated area and activate the first scanner, then scour the area for the remaining units. There are usually three, but occasionally four, and your HUD will tell you how many you're looking for. Once they're activated, head to the upload beacon to complete the mission. You have a limited time from activating the first scanner to reaching the beacon, but they're fairly generous, so don't rush it - it's easy to miss a scanner if you're not careful!
- Our guide continues with a look at the end-game in Tom Clancy's The Division.
- You can find the rest of our Tom Clancy's The Division guide from the first page of this article.