Fallout 4 walkthrough
Our essential guide to Fallout 4's main quests.

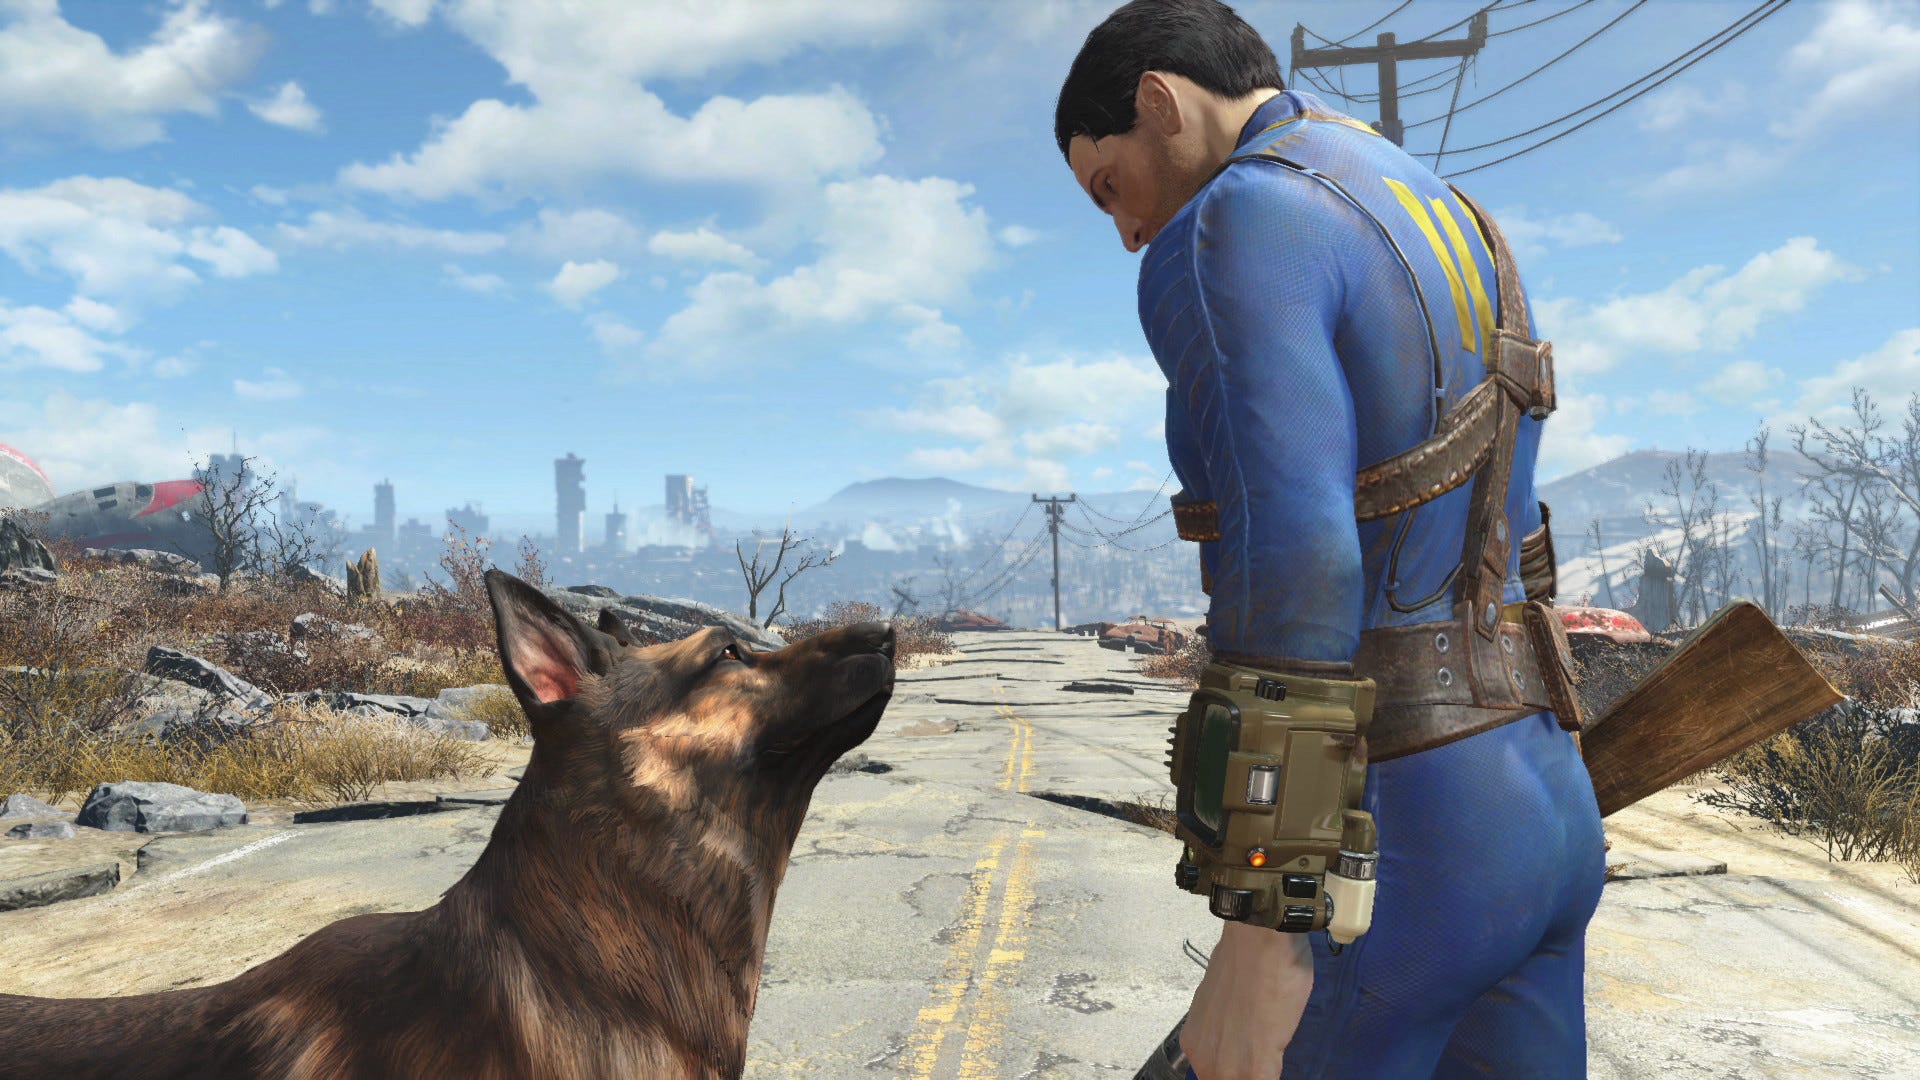
The end days have arrived, but don't let that stop you from enjoying the main quests of Fallout 4. With a vast post-apocalyptic Boston to sculpt your own stories with, Fallout 4 is an RPG epic like few others - especially if you're coming fresh from the Fallout TV show and need some more wasteland adventures in your life.
In Fallout 4, Boston is a place riddled with stories of America's grandiose past, and with a strong emphasis on crafting and building your own homestead and community, you'll probably want a guiding hand to help you through the wasteland and its biggest questlines. That's where our comprehensive Fallout 4 walkthrough, which will guide you through all of themain storyline quests.

Fallout 4 walkthrough: Main quest guides listed
Below you'll find all of our Fallout 4 main questline walkthroughs:
- Out of Time
- When Freedom Calls
- Jewel of the Commonwealth
- Unlikely Valentine
- Getting a Clue
- Reunions
- Dangerous Minds
- The Glowing Sea
- Hunter / Hunted
- The Molecular Level
- Institutionalised
Fallout 4 Faction quests
We've also got walkthroughs for some of Fallout 4's key Faction quests, which we consider vital parts of Fallout 4's overall storyline:
- The First Step - Part of the Minutemen questline that becomes available after When Freedom Calls. Find Tenpines Bluff and defeat the Corvega Assembly Plant raiders to obtain the Power Armour.
- Tradecraft - Part of The Railroad questline, which we completed as part of The Molecular Level main quest.
- Mercer Safehouse - Also part of The Railroad questline, which follows on from Tradecraft, and helps to wrap up the penultimate quest in the game if you side with the Railroad Faction.
There are many more Fallout 4 quests to find complete out there, but these are the ones we used to finish our playthrough of Fallout 4. It's also important to note that the story will split after you reach the end of Institutionalized, once you gain the ability to fast travel to the Institute. The main quest breaks off into four separate branches here, based on the four main factions. Depending on how hostile certain factions are toward each other, you may find that some quests become locked off as a result.
If you choose to support the Institute, your final quest will be called Nuclear Family. However, if you side with one of the other factions, the final quest will be called The Nuclear Option.
For now, though, let's begin our Fallout 4 walkthrough by guiding you through its opening prologue, War Never Changes.
Prologue: War Never Changes walkthrough
Welcome to the marvellous, fusion-powered future - 2077 to be precise! After the opening cutscene, you'll get your first glimpse of your new ugly mug in the mirror. If it's not to your liking, don't worry, you're free to make a better, more aesthetically pleasing one using the game's character customisation tools. When you're happy with your tinkering, confirm your changes and prepare to slip into first-person mode.
Explore your home and greet the Vault-Tec salesmen
Your first task is to explore your beautiful, slightly space-age suburban home - so poke your recently-adjusted nose around the place and see what's what. Along the hall to the left of the bathroom you'll find your bedroom and son's nursery, while the living room and kitchen - where Codsworth, your genial robotic manservant awaits - lie to the right. After a short time, you'll hear the front door bell ring - so enter the living room and open the door.
Speak with the Vault Enforcer on your doorstep (selecting the conversation options that take your fancy) and eventually you'll learn that you've been pre-selected to take shelter in Vault 111 - should total atomic annihilation occur. Accept the salesman's offer then prepare to fill in your registration form.
This bit of admin enables you to choose your character's name and starting stats. You've 21 points to spend as you wish across the categories of strength, perception, endurance, charisma, intelligence, agility and luck - with explanations of each appearing on-screen should any confusion arise.
You can place four points in each category for an initial even spread if you choose, or you might prefer to specialise in certain skills. Spend your points wisely and confirm your selection to continue.
When you're done, your visitor will leave and Codsworth implores you to drop in on your wailing baby. Head back to the nursery along the corridor and play with Shaun. Next, spin the crib mobile as instructed and let your partner know how you feel about going to the park later. As soon as Codsworth interrupts your conversation, leave the nursery and return to the living room - you'll see an important news broadcast on the television.
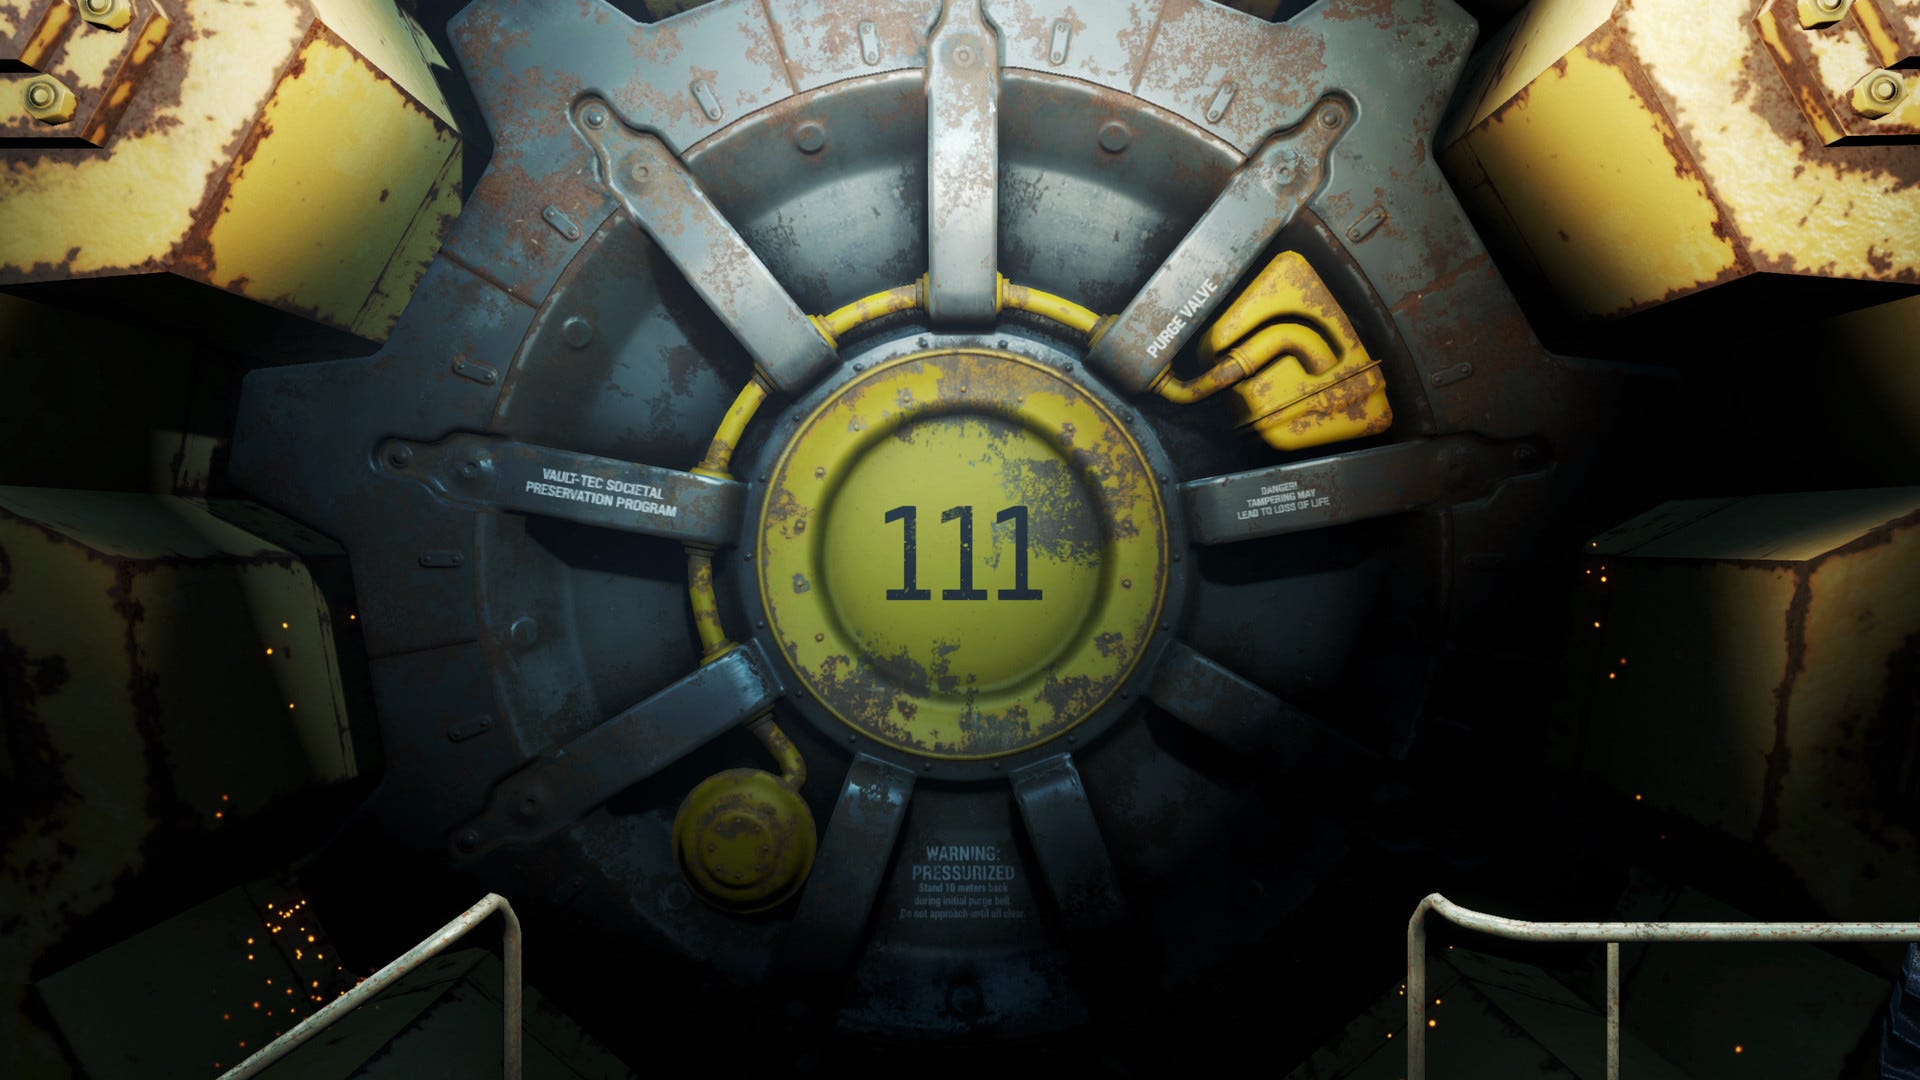
Make your way to Vault 111
It seems that things are about to get nuclear - so thank goodness you just agreed on that new vault plan, eh? Quickly slip through the front door and follow your spouse along the street. Up ahead, an attendant directs you along a footpath to the right. Join the throng of people racing toward the vault and wind your way through the woods, crossing the bridge and moving up the hill.
At the entrance barrier, speak with the solider on duty and pass through the gate. On the other side, follow the attendant along the path and step on the circular platform as instructed. Just in the nick of time, you'll descent to the apparent safety of the vault, passing deep into the bowels of the earth.
When the elevator comes to a halt, climb the steps ahead and follow the walkway along into the vault. Pass through the security gate at the end of the route, then grab a jumpsuit from the attendant on your right. Next, follow the doctor along the hallway. When he comes to a halt, activate the decontamination pod on your left as instructed and ready yourself for a long, not-entirely-peaceful slumber. Shortly, the prologue will come to a close.
That's it for the prologue, so follow on to the next part of our walkthrough, which explains how to complete Fallout 4: Out of Time.
You can also read our guides on where to find all of Fallout 4's Bobblehead locations, how to locate and romance all Fallout 4 companions, how to use cheat and console commands to help you out in combat, and how to get started with Fallout 4's base building.
Plus, we've also got a Fallout 4: Far Harbor walkthrough if you're looking for how to complete Fallout 4's main expansion.