The Last of Us Part 1 The Quarantine Zone Walkthrough
We'll show you how to get to grips with the basics of The Last of Us Part 1, as you make your first few steps through the main part of the story.

The next part of The Last of Us Part 1 is set 20 years after the events of the opening chapter, and introduces you to plenty of post-apocalyptic backstory as you rejoin Joel in his new life.
You'll be accompanied by Tess in this section of The Last Of Us Part 1, as you make your way through Quarantine Zones to settle a score.
Your first combat encounters are in this section, so be sure to pay attention to the tutorials. They'll really help you later in the game.
On this page:

20 Years Later
Once the cut-scene's over, simply follow Tess until you both reach the mission checkpoint.
As soon as you get to the rations line, head right and then just keep walking forwards to the next marker. Once Tess has finished speaking with you, use the health kit you receive and then follow her into the building she enters.
Keep walking all the way along until you come to a room at the back of the building. Use the Entertainment Center here, then yank it over to the right. Enter the tunnel that appears, drop down, and then keep heading forward as Tess leads the way.

Outside
Take all of your supplies from the nearby workbench, then give Tess a boost so that she can get over the barrier. Move forward and get yourself over it too, then just keep heading forwards until you're outside once more.
There's a building up ahead of you. Walk to the left of it, then grab the ladder from behind the car. Bring it over to the wall with a big hole in it, then put it into position and climb up. Once you're inside, have a good rummage around inside the kitchen, as there are plenty of supplies to be found in the drawers.
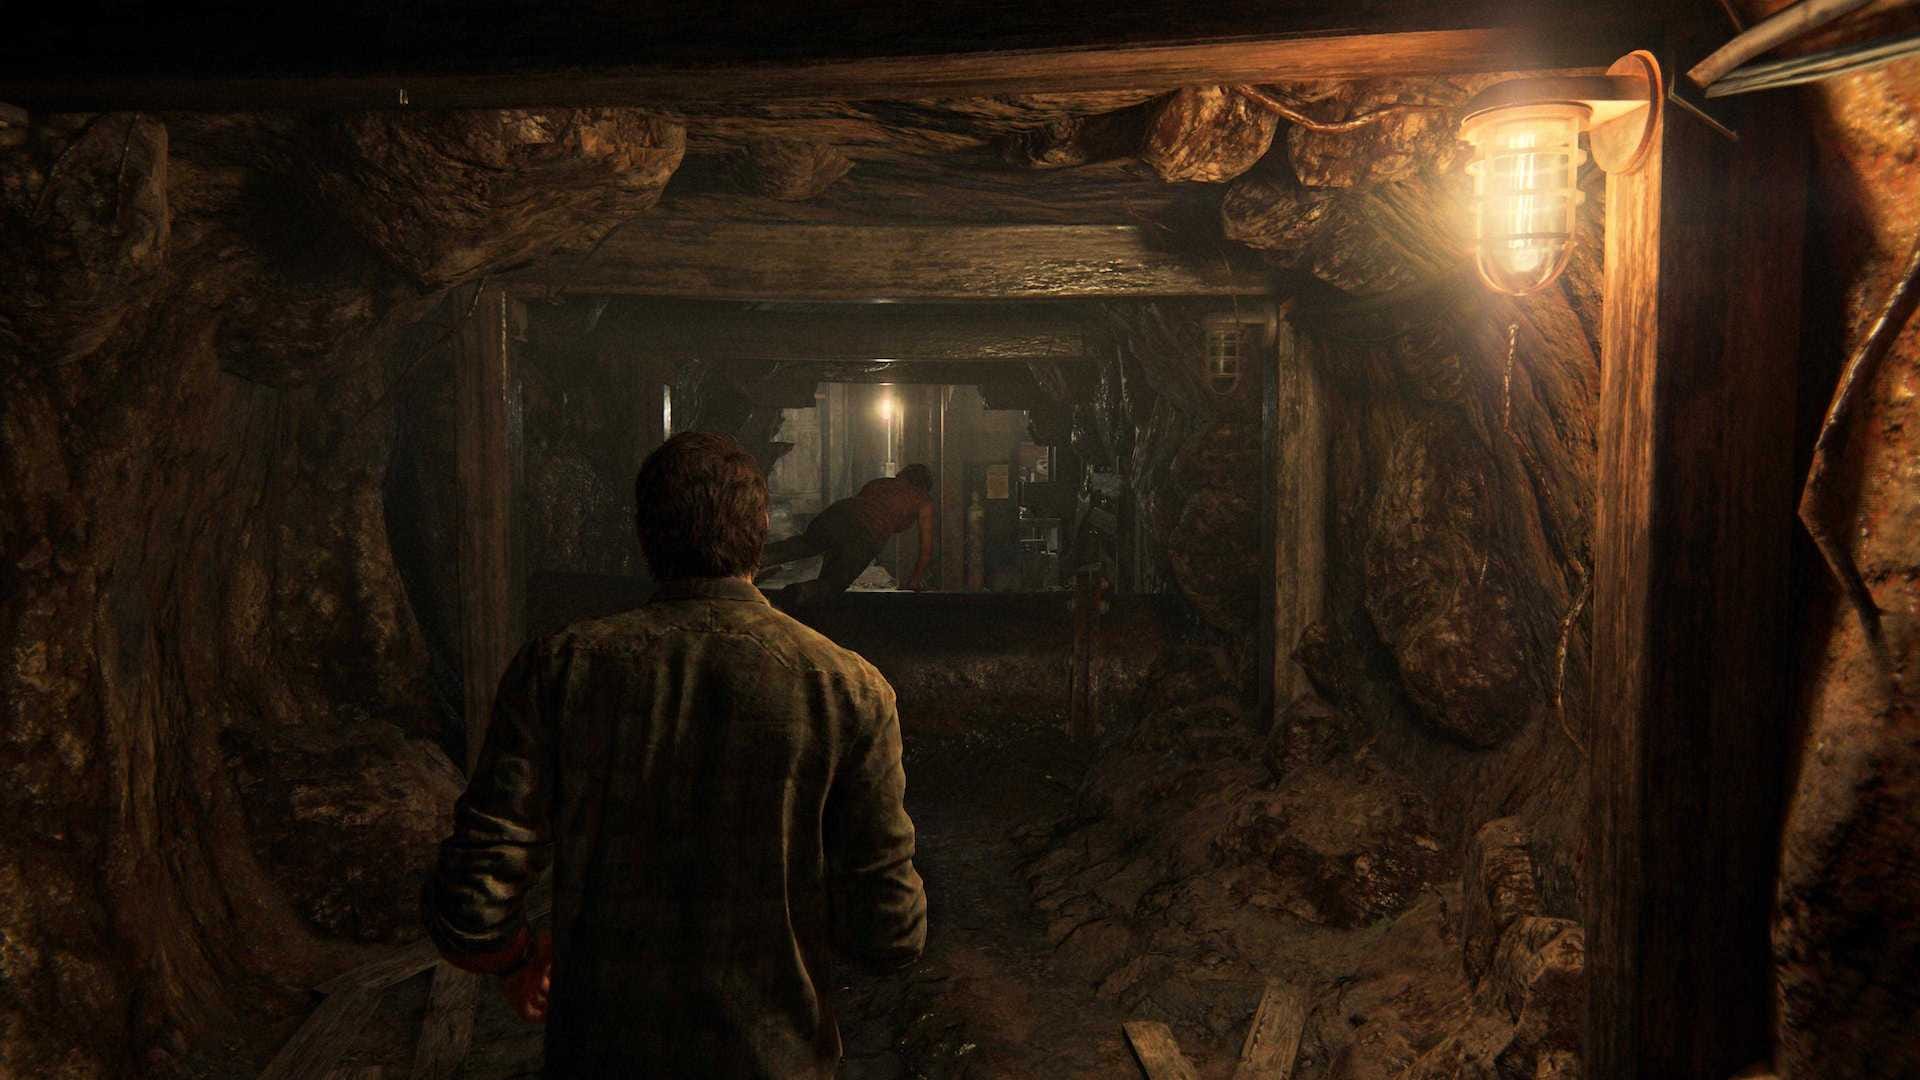
Make your way back downstairs, then just keep following Tess. Eventually you'll have to put on a gas-mask. Enter the deadly cloud, then get down on your haunches and go through the broken wall until you reach the laundry room. Head past the source of the infection, then yank out the beam so you can open the door. Whatever you choose to do with the dying man, make sure you grab the ammunition that's near his legs when you've finished.
Keep heading through this ramshackle building, then crouch down to get through the door. You'll now have to work through a very brief tutorial section, which will help you tackle the trio of Runners who are about to start gunning for your blood.
Make your way back to the kitchen, grab some more ammunition from the side room, then go upstairs. Head left before reaching the outside and go through the closed door. An Artifact and a bit of food are on the other side. Once you've grabbed them, follow Tess until you're back out in the relatively fresh air.
Keep following her until you're both on the second floor of the building. Now drop down to get the plank of wood, then head towards Tess who'll pull it up. Look for a hole in the wall, then head through it and climb back up to Tess's level. Head over the plank with her, jump down from the fire escape, and just keep following her.
When you come to a door, pause for a moment to shoot the Pendant from the tree branch, then head inside when you've picked it up.
The Slums
Take the ammunition from the table, then move out of the door and into the Quarantine Zone as soon as it's safe to do so. Keep walking through this area until you exit a bus and move into a new area. Before moving on, look out for a pair of Artifacts if you're hunting down collectables - one's a Wanted Poster, the other's called a Draft Notice on the floor near the table.
Time to catch up with Tess who's in the alley to your right. Once the guard's been bribed, keep walking forwards and finish off the roving thugs standing between you and your objective. When they're dead, help Tess get over the wall, then keep going forwards until you come to a fence with a hole in it. Climb through it, then take out the pair of enemies here as stealthily as you can.
To do this, get right up by the windows until you can hear them, then slip into the shadows and take them both down. As you do so, you'll be able to get some more ammunition, as well as another Artifact from the corpses.
Walk through the door further up ahead, then get into a cover position behind the sandbags. Once you've used a bottle to create a distraction, get out there and finish off the guards. Now head upstairs and enter the warehouse, grabbing the Shiv and the Medikit from the table as you go.
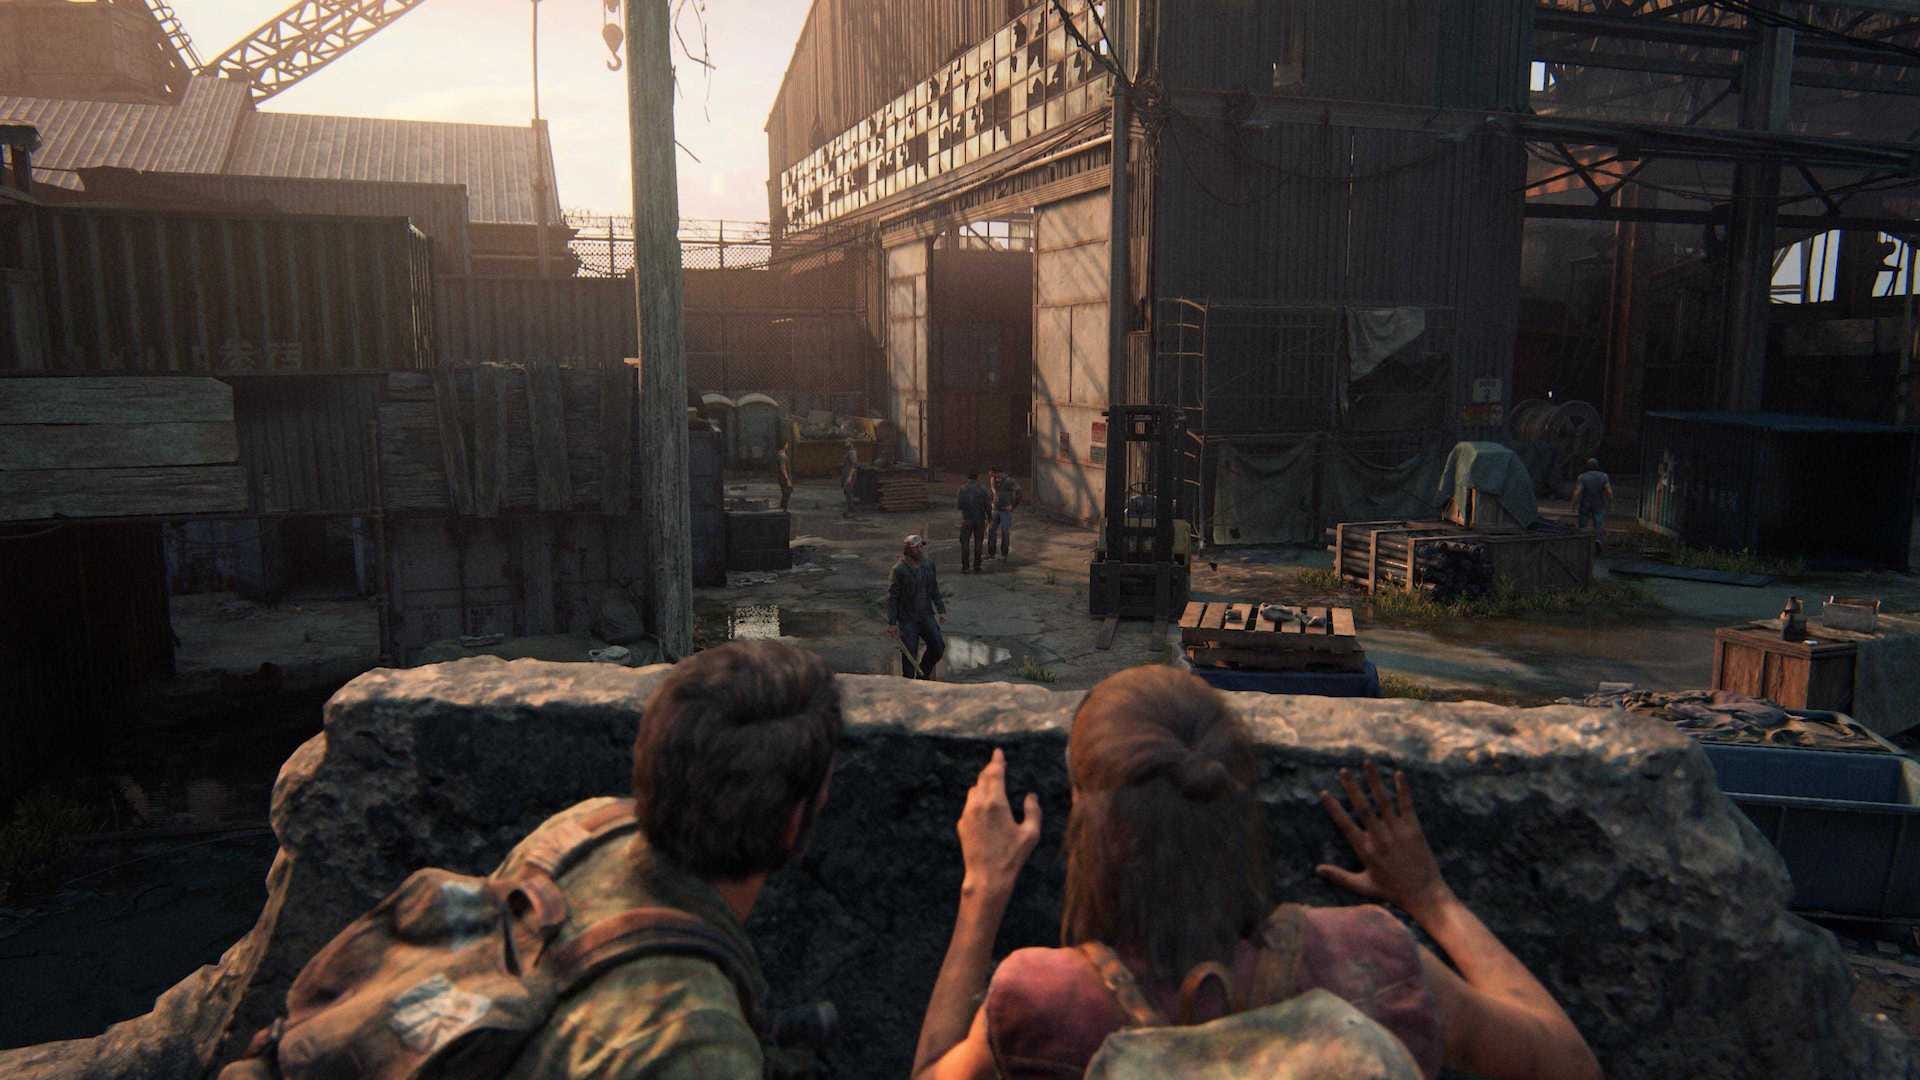
Work your way around the room, taking out any guards you encounter. When you've finished, go down to the lower floor and make your way towards the big garage door. You'll now find yourself in a showdown with Robert and his goons.
When they've all settled into their positions, make your way along the far left-hand side of the area. Eventually, one of the enemies will head towards you before turning around. Use the opportunity to strangle him, then head back to where you started from.
Wait for the patrol to move away from you, then take out the stationary thug, followed by the patroller. Now use the forklift truck for cover, and use this position to take out the next enemy when he turns his back to you. Sneak up to your next target and take them down, then create a distraction to help finish off the final henchman.
Once you've dealt with everyone, head through the door at the back of the building and kick it in with Tess. You now need to chase after Robert - don't let up on your pace at any point, otherwise you risk losing him and failing this part of the mission.
The Cargo
As soon as you've caught up with Robert, you'll switch to a cut-scene. Once it's over, take the supplies from the nearby table. Follow Marlene and climb up the ladder, then jump down through the window after her. Grab any supplies from this area, then help her get the big blue door open.
After following Marlene outside, make your way upstairs and enter the building. You'll now have to take out a guard while Marlene deals with the other. Deal with the remaining guards, then make your way downstairs to trigger a new cut-scene.
Head over to our The Last Of Us Part 1 Walkthrough hub for more help with the rest of the game. You'll even find handy guides on tracking down the game's many collectibles.